Cisco Camera Setup for capture
Camera support has been dropped as EoL with Site Controller version 3.0
For connecting a Cisco camera (series 6000 or 7000) to the Azeti sitecontroller they need to be configured to be able to capture snapshots. The following is how this cameras have to ge configured
Step-by-step guide
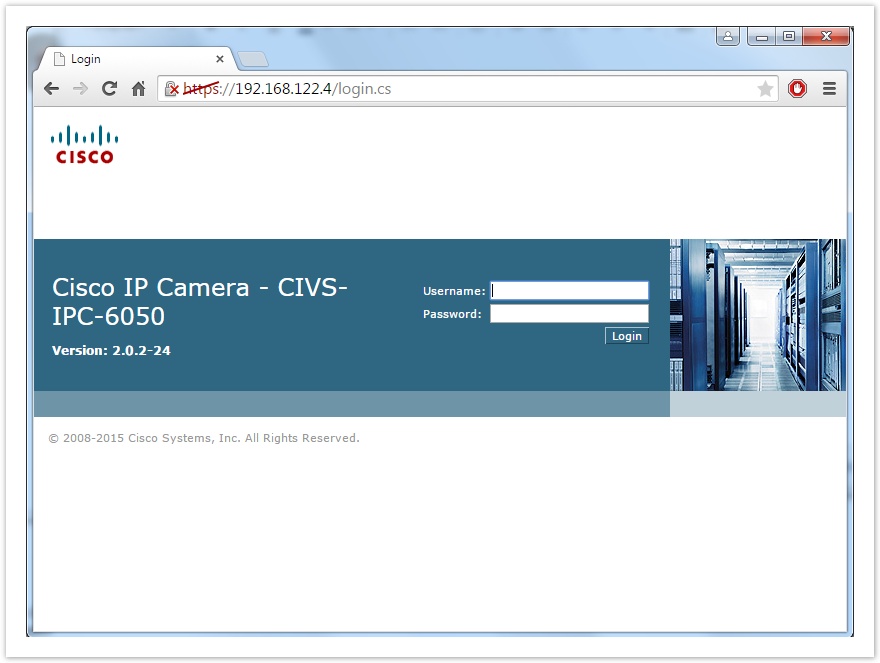
- Login to the web interface of the camera
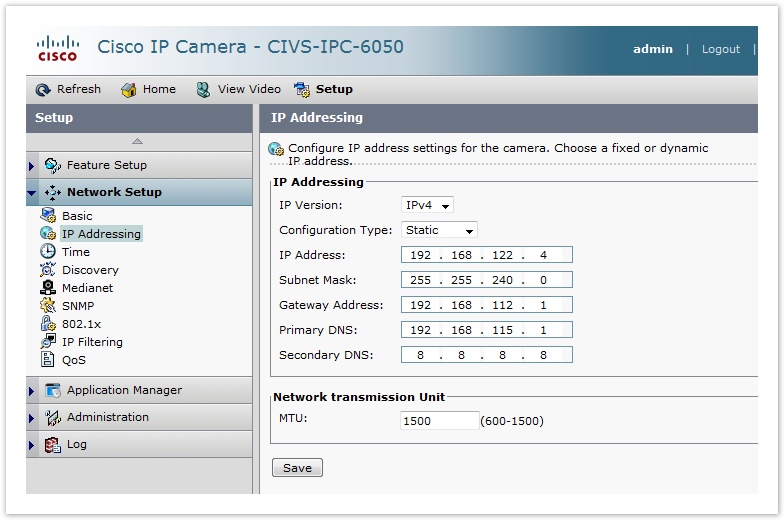
- Configure the camera with an static IP (Setup/Network Setup/IP Addressing)
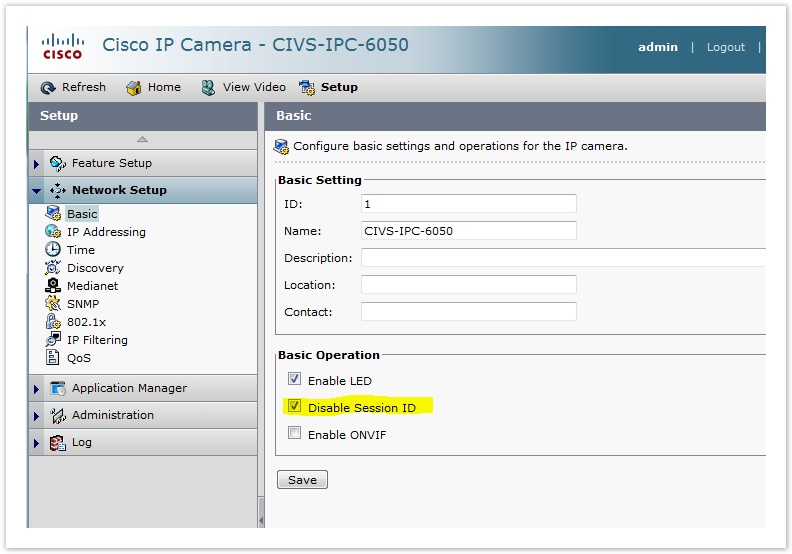
- Disable the Session ID (Setup/Networking/Basics)
- HTTP access enabled (Setup/Administration/Initialization)

Make sure the stream 2 is enabled and configured in MJPEG mode (Setup/Feature Setup/Streaming)
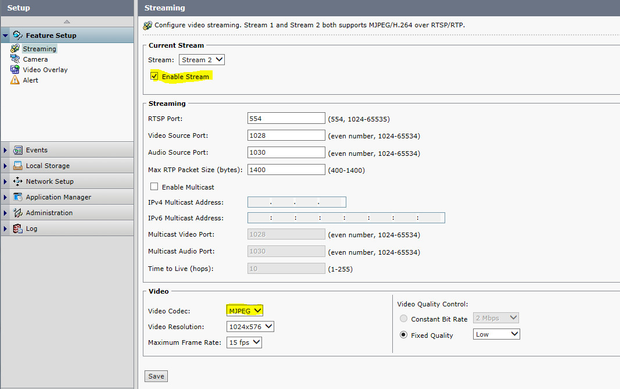
Stream 1 Maximum Frame Rate should be 15 fps or less and Resolution should be 1920x1080 or less
- Test that the API is working by accesing the correct URL in your browser: http://10.194.31.155/StreamingSetting?version=1.0&action=getPicture&ChannelID=1&ChannelName=Channel1&userName=admin&password=C!sc0123&SnapShotImageType=2 (you have to change the IP, user and password to the appropriate ones). It should return a file called SnapShot.jpg
The camera has to be reachable through tthe IP network from the router that runs the Sitecontroller
Optional: Timestamp Overlay
To enable showing the date and time on the image, the following additional steps have to be completed
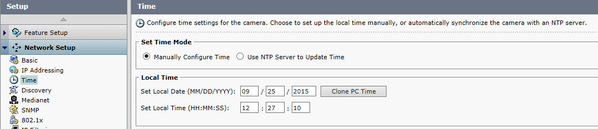
- Configure the time on the camera:
- Go to Setup / Network Setup / Time
- Select the method to set the time. There are two options, manually or through an NTP server (recommended)
- Manual Option
- Select Manually configure time
- In the Local Time section set the time or clone the PC Time
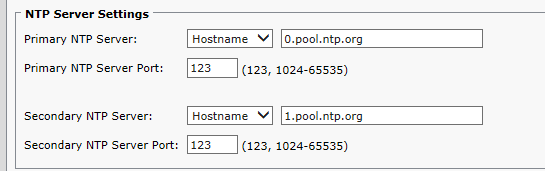
- NTP Server option
- Select Use NTP Server to update time
- Fill in the NTP server details on the NTP server Settings section
- Select the appropriate Time zone on the Time Zone section and tick the "Adjust for Daylight Saving Time" checkbox.
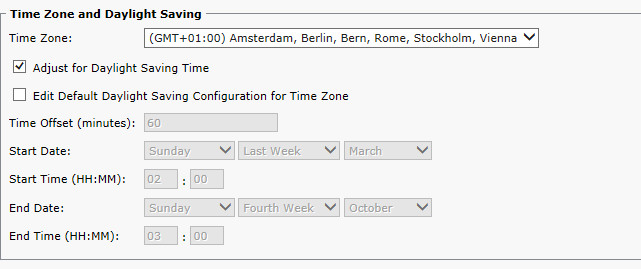
- Save
- Enable the Overlay
- Go to Setup / Feature Setup / Video Overlay
- Select the Overaly placement
- Click the "Enable date/time display" checkbox
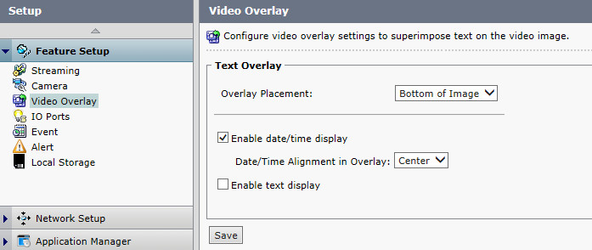
- Save
Related articles