MFA : Multi factor authentication
User MFA
Admin switch on MFA
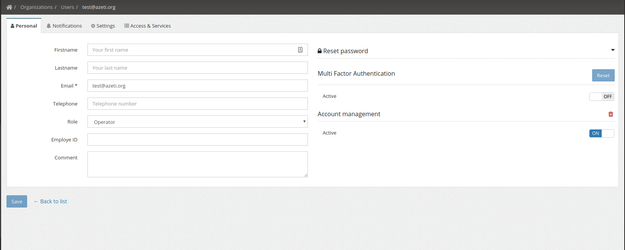
- Use the on/off switch to set enable/disable MFA for a user
- When MFA has been set by an admin this change will be pending (cf users list)
- When a user MFA is pending it means that the user needs to enroll to register his TOTP generator (Google Authenticator)
- Administrator can use the reset button to regenerate a TOTP secret and therefor invalidate current user generator
 MFA On/Off and reset are triggered on click and not user save
User enrollment
On his first login after an administrator has set his account with MFA the user will be asked to enroll on a 4 steps form :
Step 0 : Welcome
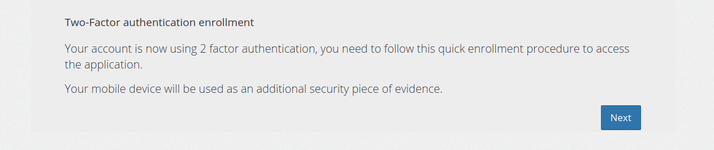
Here the client is told that he is to enroll in MFA and use is mobile phone as a security piece of evidence.
Step 1 : Download app
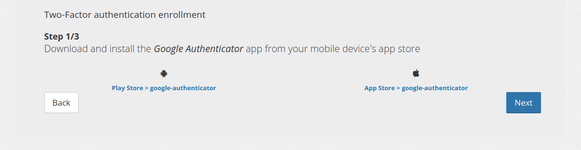
Here the client is told to download Google Authenticator application, he is provided links to Android and IOS application stores.
Step 2 : Scan QR Code

Here the client is asked to use the Google Authenticator application to register his account either by scanning the QR code or manually entering the key.
Step 3 : Verify code
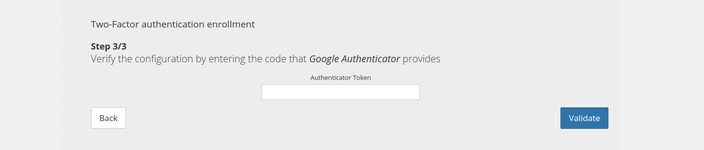
Here the client is told to check his first TOTP code to verify the enrollment process. If validation succeed he will be logged in with a valid MFA and token.
User login
Once a user is properly enrolled with MFA he will need is mobile device with Google Authenticator to log in. The login procedure is splitted in 2 steps with MFA :
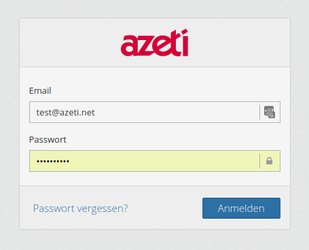
- Classic login with email and password
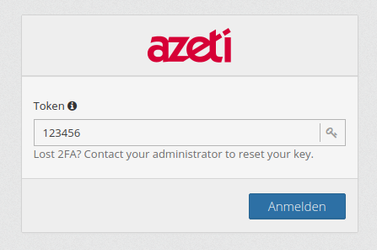
- Enter valid TOTP code
1. 2.
2.
Backend API changes
This article describes, how to enable and use multi factor authentication (MFA) from the backend point of view.
Currently there is just one additional authentication factor implemented, making this effectively a two factor authentication (2FA).
We choose Google Authenticator, a "Time-based One-time Password" (TOTP) implementation.
Switching on MFA
As an authenticated user, that has editing rights to the targeted user use
POST
[users] /users/{userId}/googleauthThe call of this endpoints sets three flags for the user: googleAuthAccount, googleAuthEnabled and googleAuthPending. They indicate, that an MFA account has been set up, that MFA is enabled, and that the "enrollment" is pending.
With DELETE you would switch it off, again. All flags were then set to "false". the account is deleted.
WIth PUT you can temporary enable/disable the MFA, without deleting the account.
Authenticating using MFA
After switching on the MFA, a shared secret has to be exchanged during the first login process:
Enroll, step 1:
In the first step, we login with user name and password:
POST
[app-login-controller] /app/auth
A specific appConfig is returned for MFA users:
token is not the regular authentication token, but a special factor-1 token. It can only be used to authenticate for the endpoint, that we call in the next step.
nextAuthentications contains a list of names for the next authentication factor. Currently this list contains just the one implemented factor GOOGLE_AUTH.
secret is the shared secret, that is used as a key to create a new account in the google authenicator mobile app. This secret is only shown during "enrollment", when the "googleAuthPending" flag is set for that user.
After creating the account, the mobile app shows verification codes, that keep changing after a short time interval.
Enroll, step 2:
We use the above factor-1 token and the verification code, that the mobile app currently shows for new account.
POST
[app-login-controller] /app/mf-auth
After this step, the user is successfully logged in, meaning, the returned token is a regular token.
The "googleAuthPending" flag for this user s now set to "false", googleAuthEnabled is still "true"
Login, step 1:
The MFA logins from now on don't exchange the secret anymore. Anything else works the same.
POST
[app-login-controller] /app/auth
The following logins, step 2:
We use the above factor-1 token, and the verification code, that the mobile app currently shows.
POST
[app-login-controller] /app/mf-auth
After this step, the user is successfully logged in, meaning, the returned token is a regular token.