...
| Code Block |
|---|
<action action_id="fan_output" device_id="dev_X20BC0087">
    <commands>
      <command command_id="ON">write_single_coil(16,[1])</command>
        <command command_id="OFF">write_single_coil(16,[0])</command>
      </commands>
</action> |
Step-by-step guide
- Log into the Dashboard. Go to Config/Provisioning → Sensor Templates → Site Templates and click on edit next to the location you wish to edit.
- Activate the SuperUser Mode and expand the Actions row
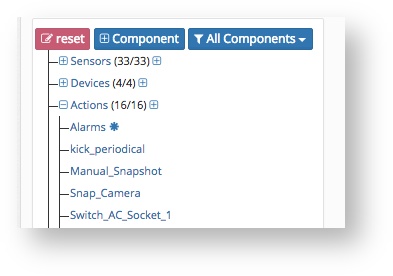
- Now click the + next to Actions and click on the new create action.
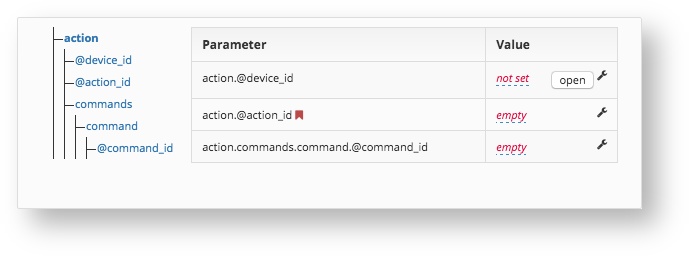
- Firstly we need to add the device where the fan is connected to. This is the device_id. In our example it is connected to the X20BC0087 module.
- Secondy we need to give the action an action_id. This is the unique name for the action. in our example it is called fan_output.
- Lastly we need to define wich coil will be called with the command_id. In our example the coil 8 will be switched on (1) or off (0).
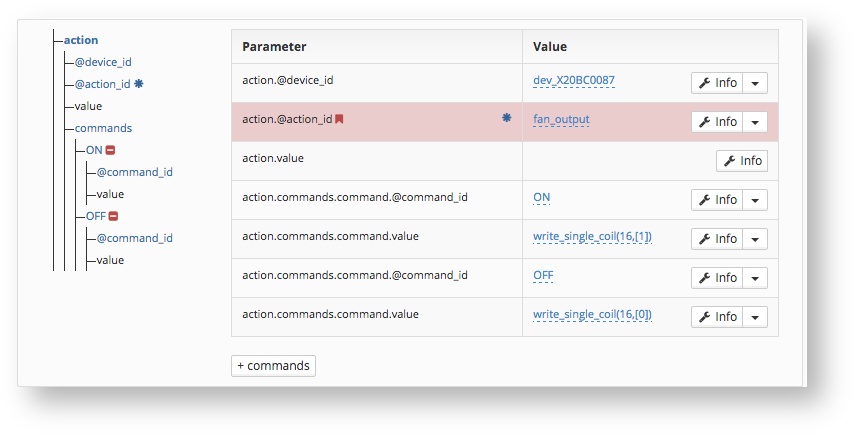
- You will need to use the "+ commands" function to add the specific rows.
- Next switch back to normal user.
...
| Info | ||
|---|---|---|
| ||
|
Related articles
| Filter by label (Content by label) | ||||||||||||||||||
|---|---|---|---|---|---|---|---|---|---|---|---|---|---|---|---|---|---|---|
|
...