| Section | ||||||||||||||||||||
|---|---|---|---|---|---|---|---|---|---|---|---|---|---|---|---|---|---|---|---|---|
|
...
- Trap OID = 1.3.6.1.4.1.34540.14.5.110
- 1.3.6.1.4.1.34540.14.5.110.1: output of the sensor
- 1.3.6.1.4.1.34540.14.5.110.2: sensor name
- 1.3.6.1.4.1.34540.14.5.110.3: state of the sensor (Critical, Ok, etc.)
- 1.3.6.1.4.1.34540.14.5.110.4: Timestamp of the event
- 1.3.6.1.4.1.34540.14.5.110.6: Location name
If an email server is configured then email can be used as a mean to send the notification. An example of an email notification is the following:
| No Format |
|---|
Dear customer, this is an eMail notification from Azeti Social Sensor Cloud. Alert recovered: Location: ASuperVirtualSite Sensor: VirtualTester (0647f4dc-f4e9-42b0-8fdc-6b7f96fb8fcd) State: WARNING Output: Virtually setted... 69.70 Time: Nov 24, 2015 20:24:36 PM Azeti SSC platform |
SMS
When connected to an SMS sending platform, the system can also send the events as SMS. The same information as other notifications is sent:
...
- If no timeperiod exist, create one
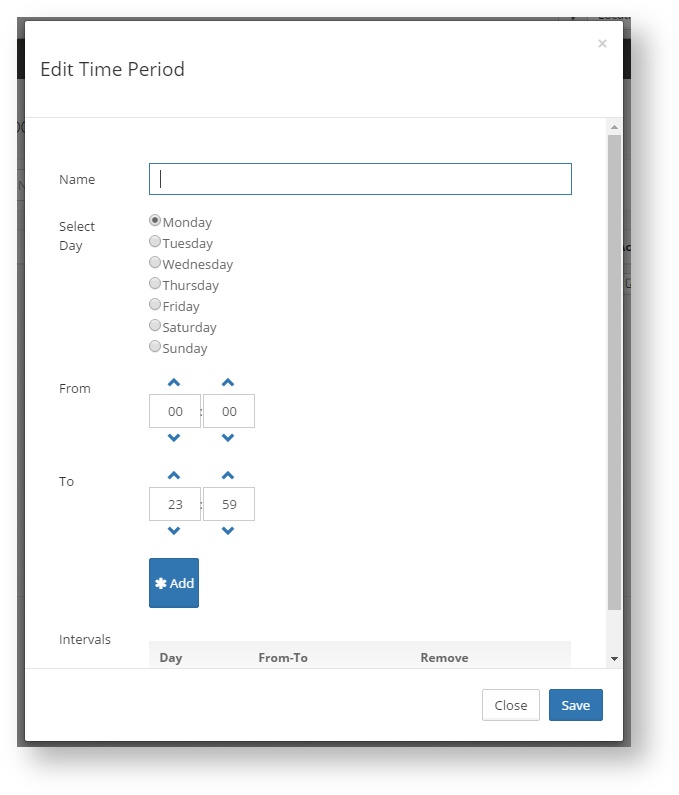
- Go to Organization→ Time Periods, click Create NewAdd
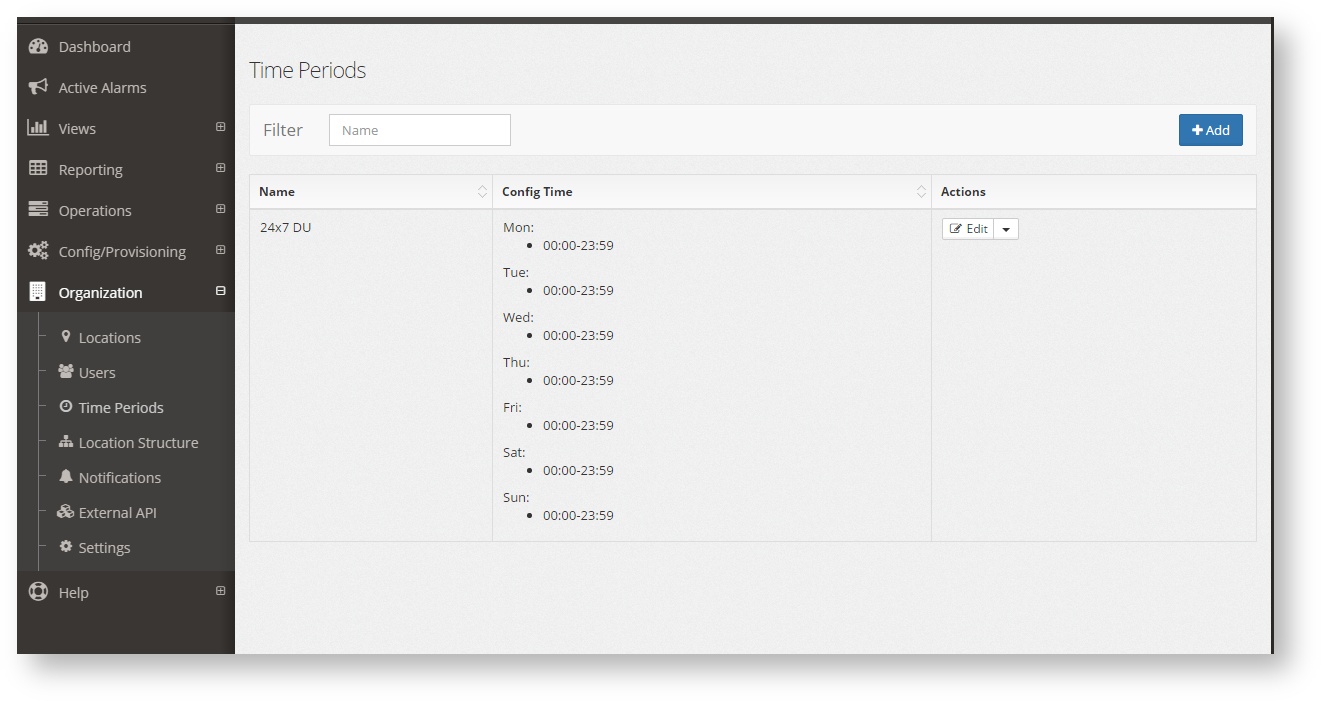
- Write a name for the period, and for each day of the week add the time interval during which the notifications can be sent. If a day is not included then notifications will be send that day. Save
- Go to Organization→ Time Periods, click Create NewAdd
- Create/Edit the user or users that will receive the notifications:
- Go to Organizations → Users
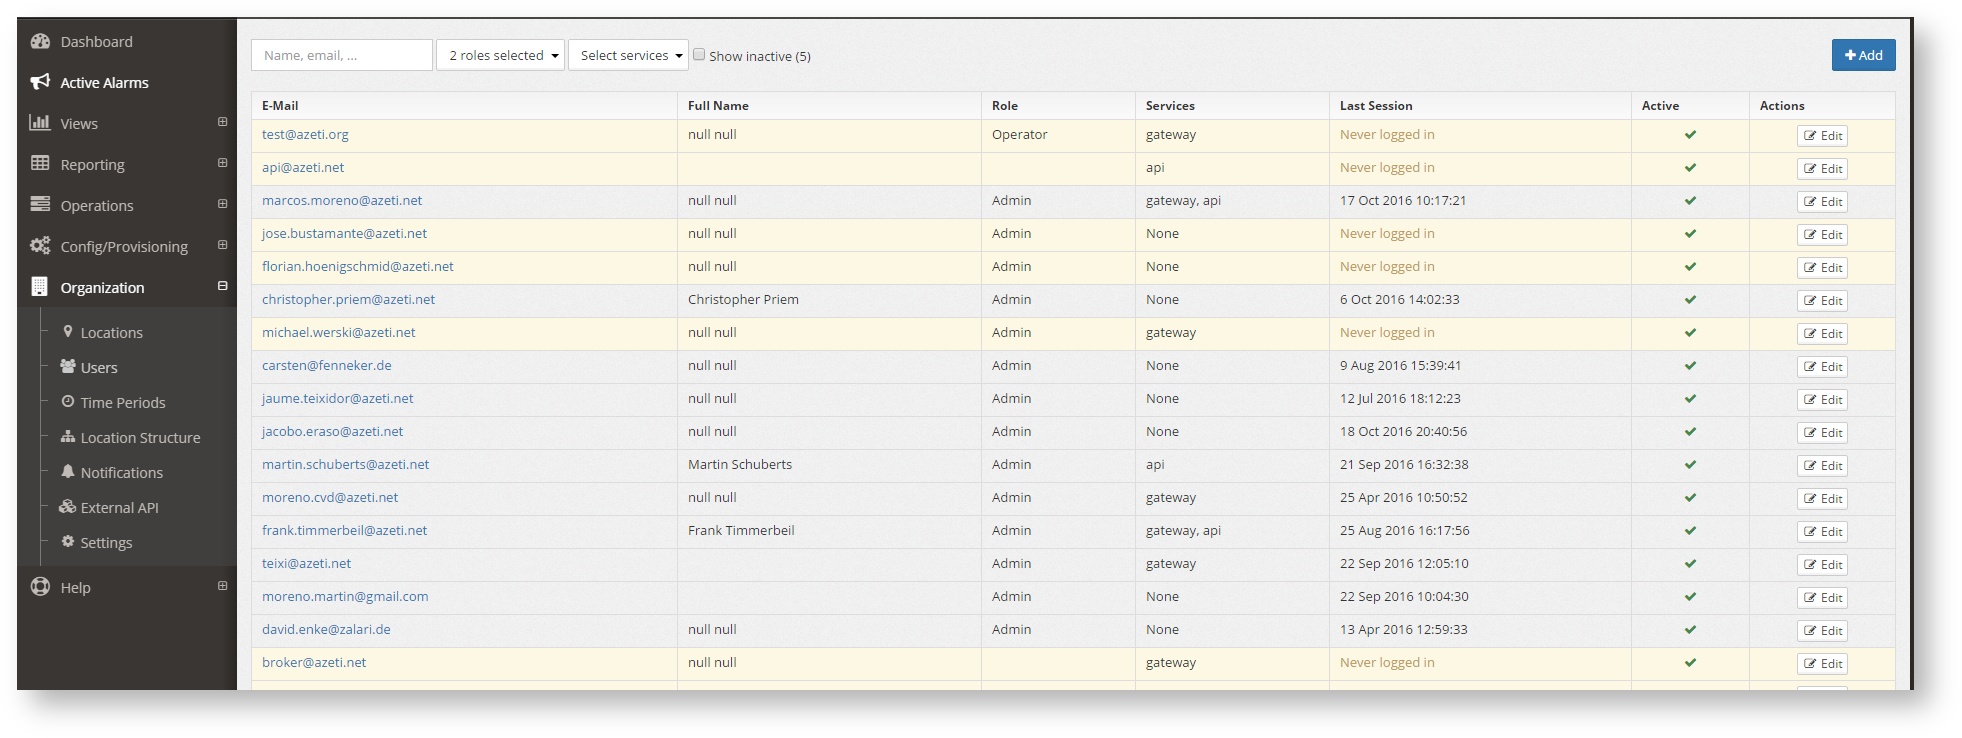
- Create a new user or Edit an existing one
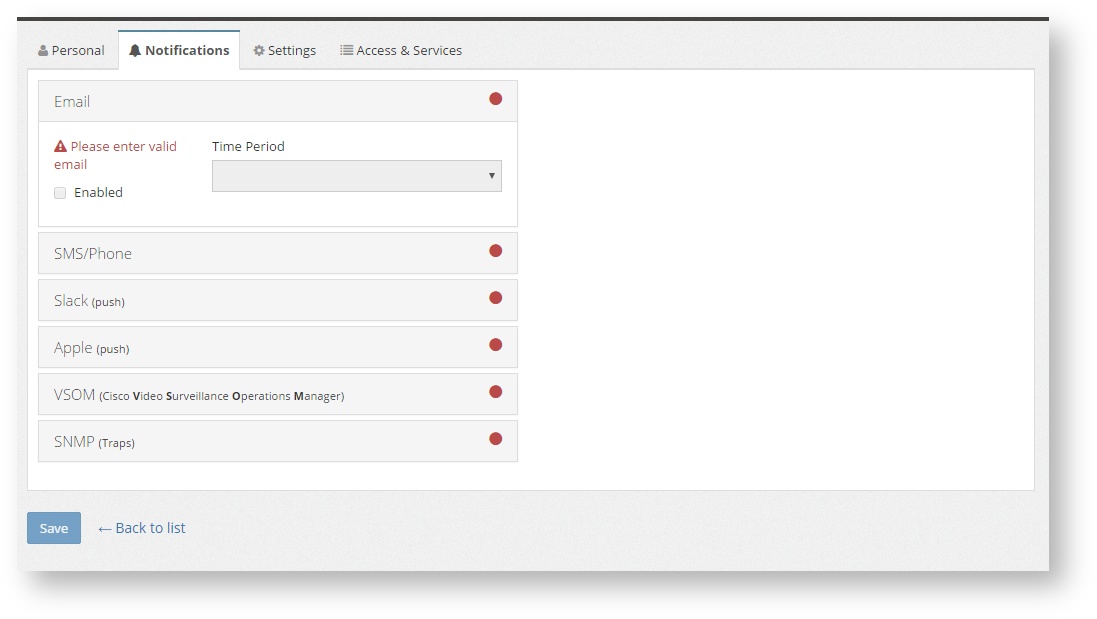
- Fill the mail and phone number info that will be used for the notifications
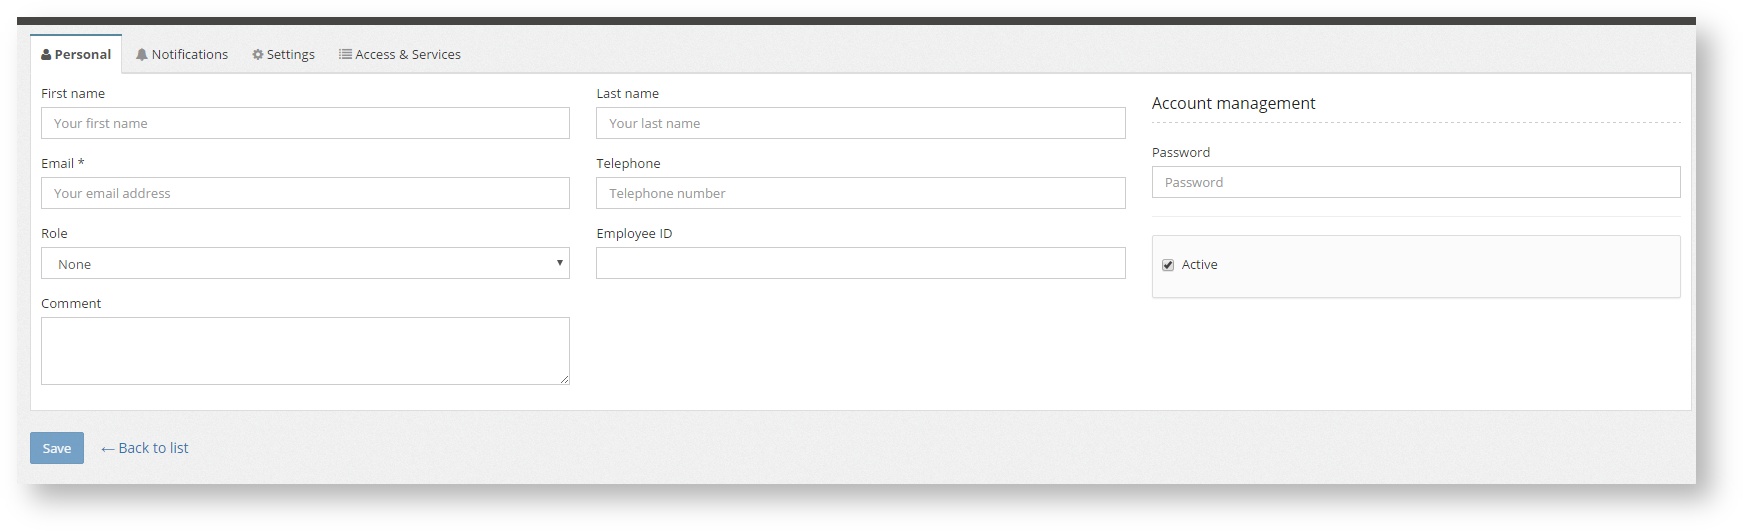
- Go to the Notification tab, select the way that Notifications should be done (Email, SMS, SNMP or all) and the Timeperiod for each one. Save
- Go to Organizations → Users
- Create a notification group:
- Go to Organization → Notifications
- Create a new notification group if needed (if no other group is going to be used)

- Click the menu button (
 )Assign users button on the group that is going to be used and assign all the users that are going to that group.
- Assign each sensor to the proper notification group
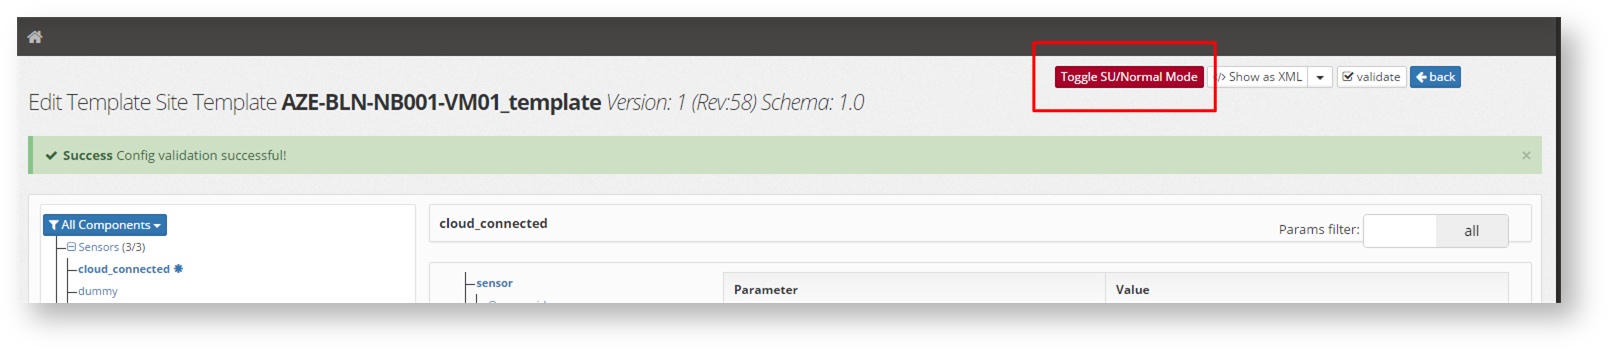
- Go to Configuration → Sensor Templates → Site Templates and select the template of the site or sites and click Edit

- Click Toggle SU/Normal mode to be able to edit
- Select the sensor that will trigger the notifications and click the Notifications button
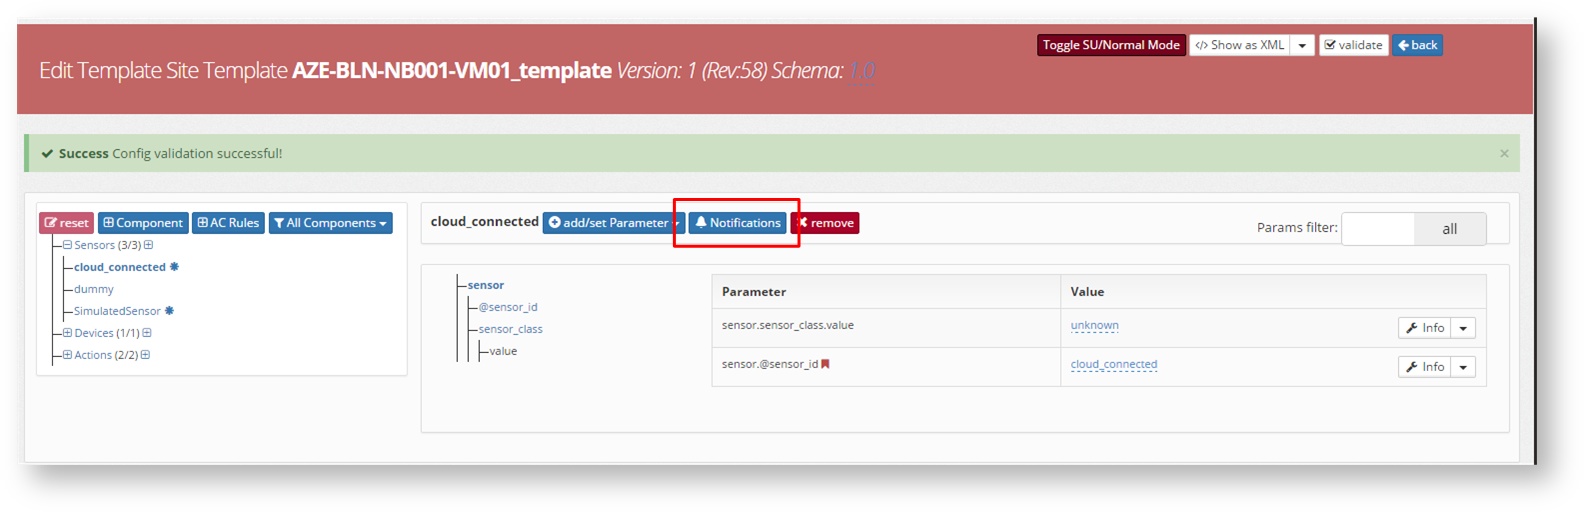
- Select the notifications groups that will receive the alarms from this sensor (can be one or more)

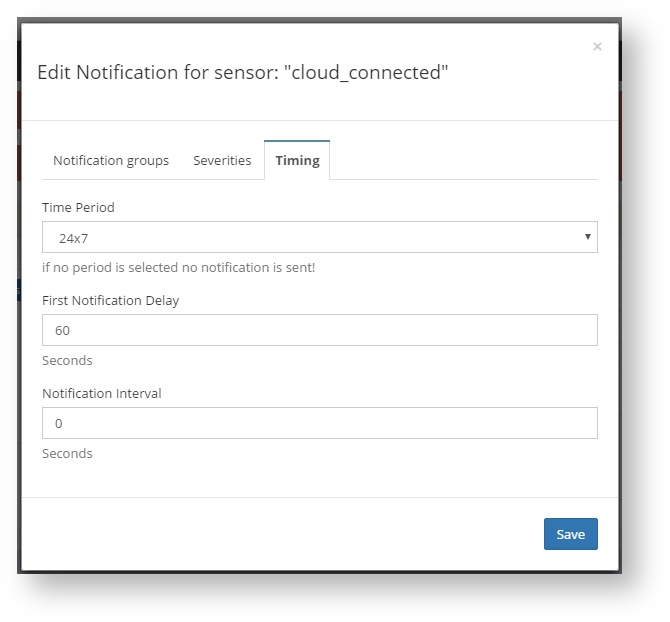
- The Severities of the alarms that will trigger the notifications: 100 is usually the level for warning and 200 for critical

- And the Timing: Time Periods when notifications will be sent (only if it also matches the timeperiod for the notifications group), the First notification Delay (in minutes, how long the system will wait with an alarm before sending notification if it does not recover) and the Notification interval (in minutes, how often an alarm will be sent). Save
- Go to Configuration → Sensor Templates → Site Templates and select the template of the site or sites and click Edit
...