...
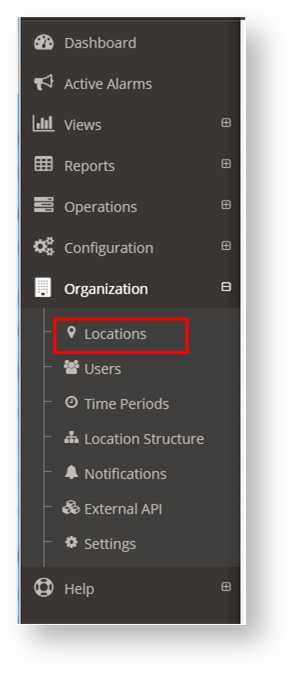
For the Sites management go to Organization → Sites. Here it will be shown a list of all the Sites of the organization. A Site is defined by a gateway with a SiteController running.

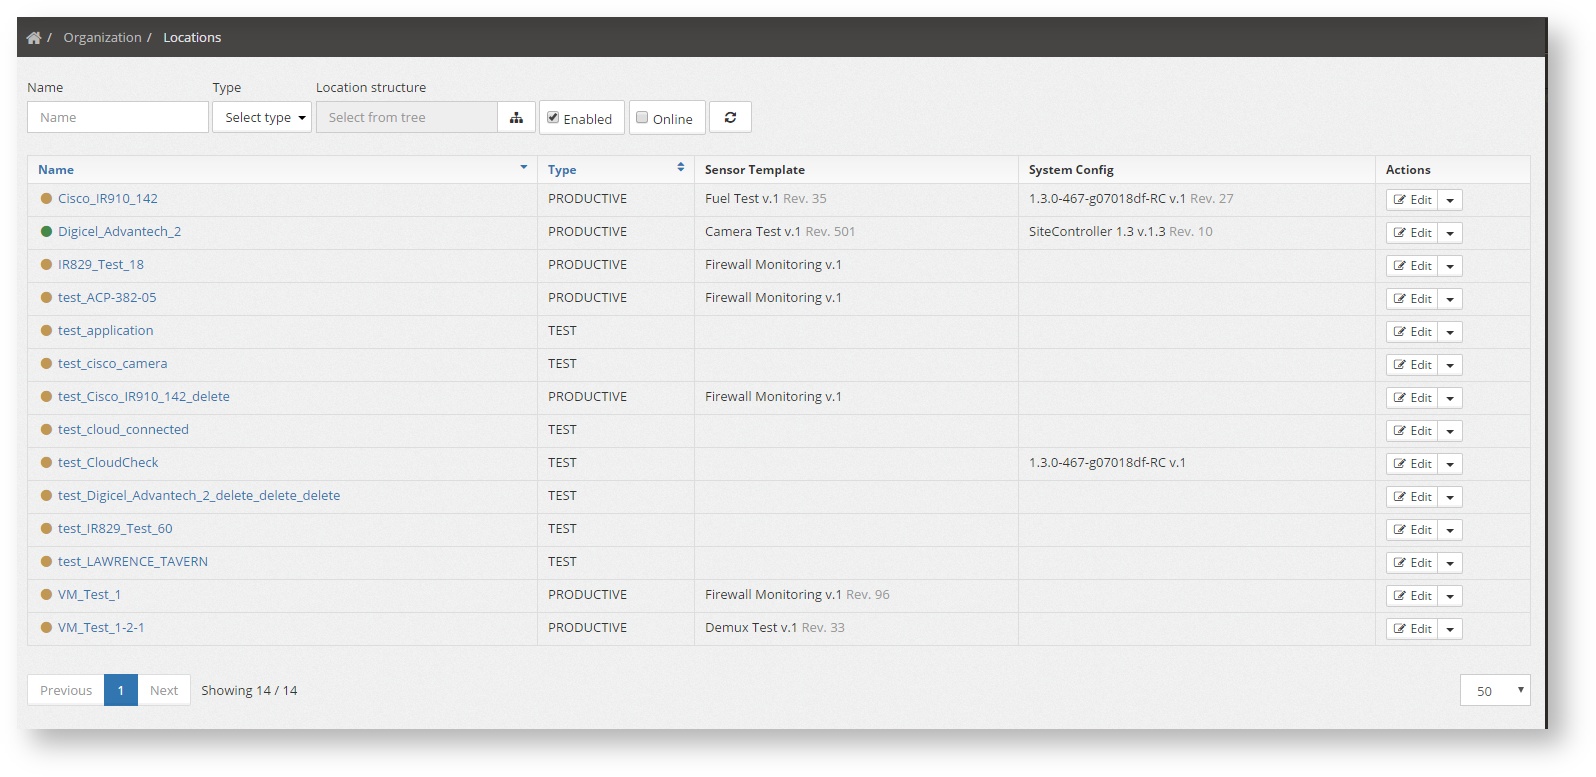
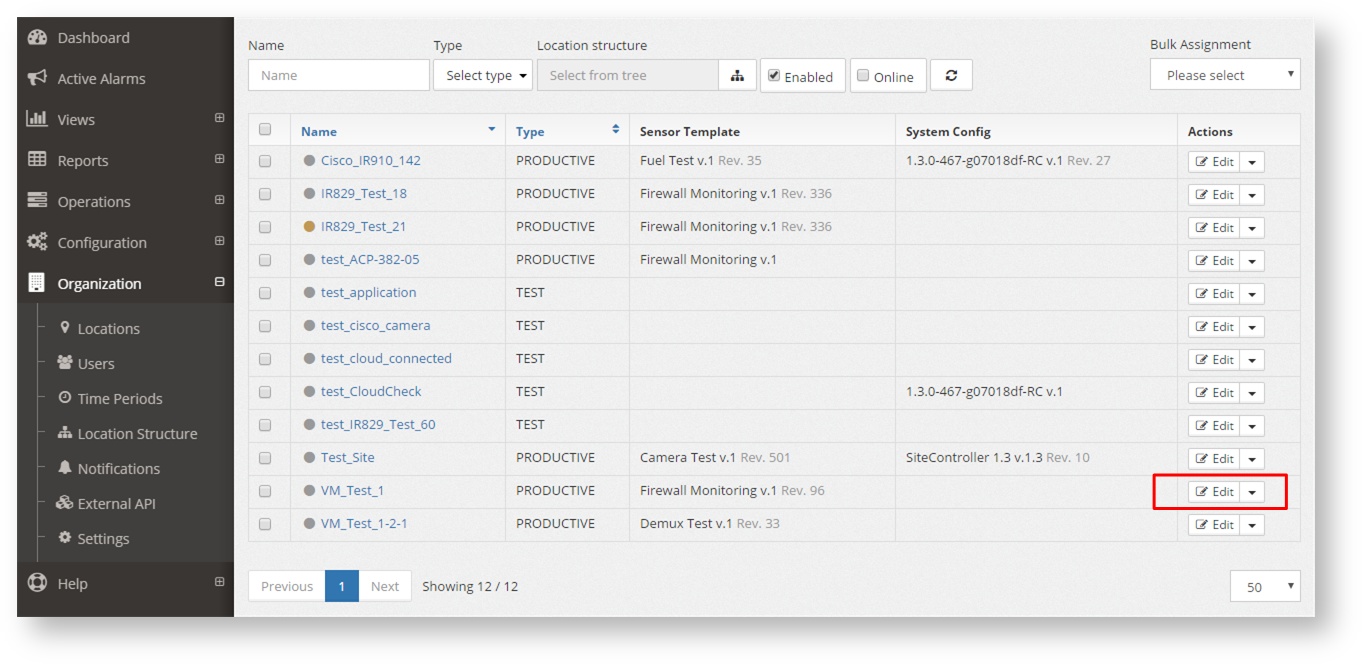
The list shows the following information of each site:
- Connection status: Green if is currently connected, yellow if it is not.
- Name: The Site name. By default all new Sites will have the name test_SERIAL using the serial name configured on the Site Controller.
- Type: The type of site. There are two possible types;
- PRODUCTIVE: Sites that are consider in production, and are shown in all the lists and reports
- TEST: Sites which are not considered to be fully functional, and are only shown on this list. The are not shown in any other part of the system
- Sensor Template: The assigned sensor template of the site, with a direct link to it
- System Config: The assigned System Config of the site, with a direct link to it
- Actions: Which are:

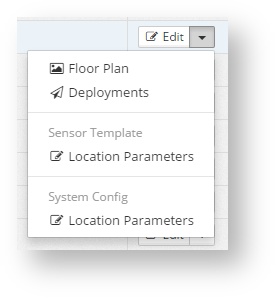
- Edit: To edit the site basic information (see next section)
- Floor Plan: If a floor plan for the site was loaded, it will take the user to it.
- Deployments: A direct link to the deployments page for this site
- Sensor Template / Site Parameters: A direct link to edit the site template assigned to the site, to customize only for this Sites (the changes will not be applied to other sites that use the same site template).
- System Config / Site Parameters: A direct link to edit the system config template assigned to the site, to customize only for this Sites (the changes will not be applied to other sites that use the same system config template).
...
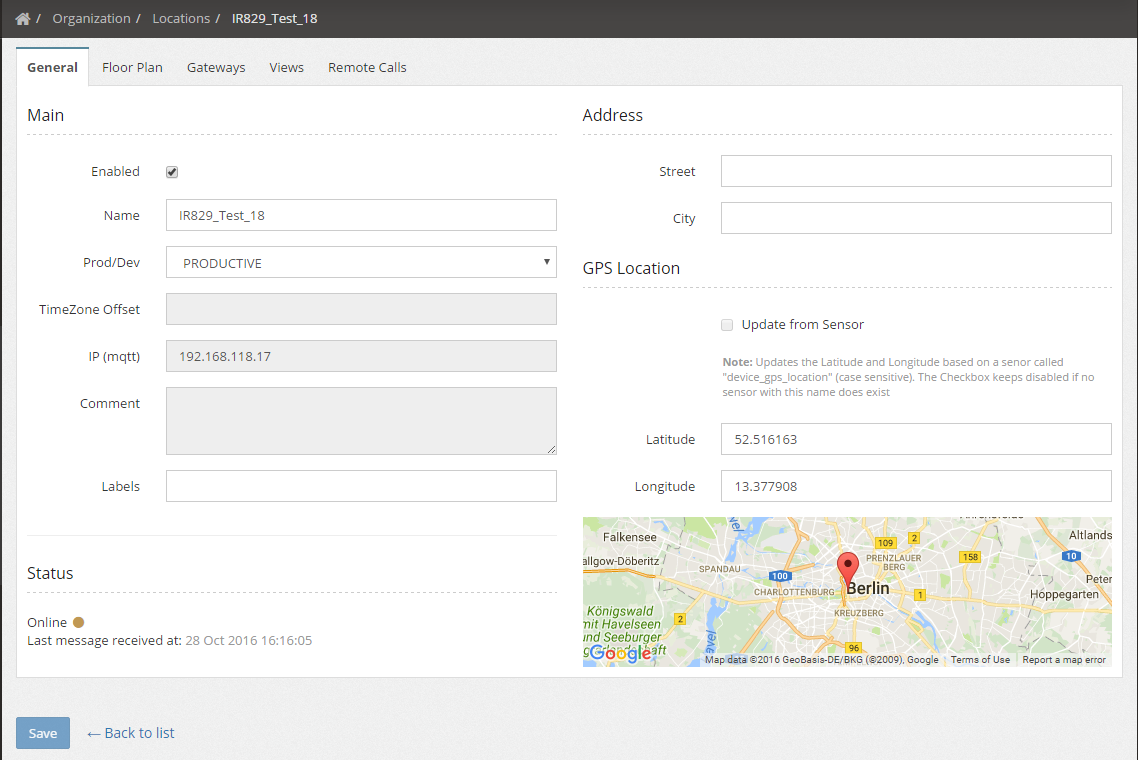
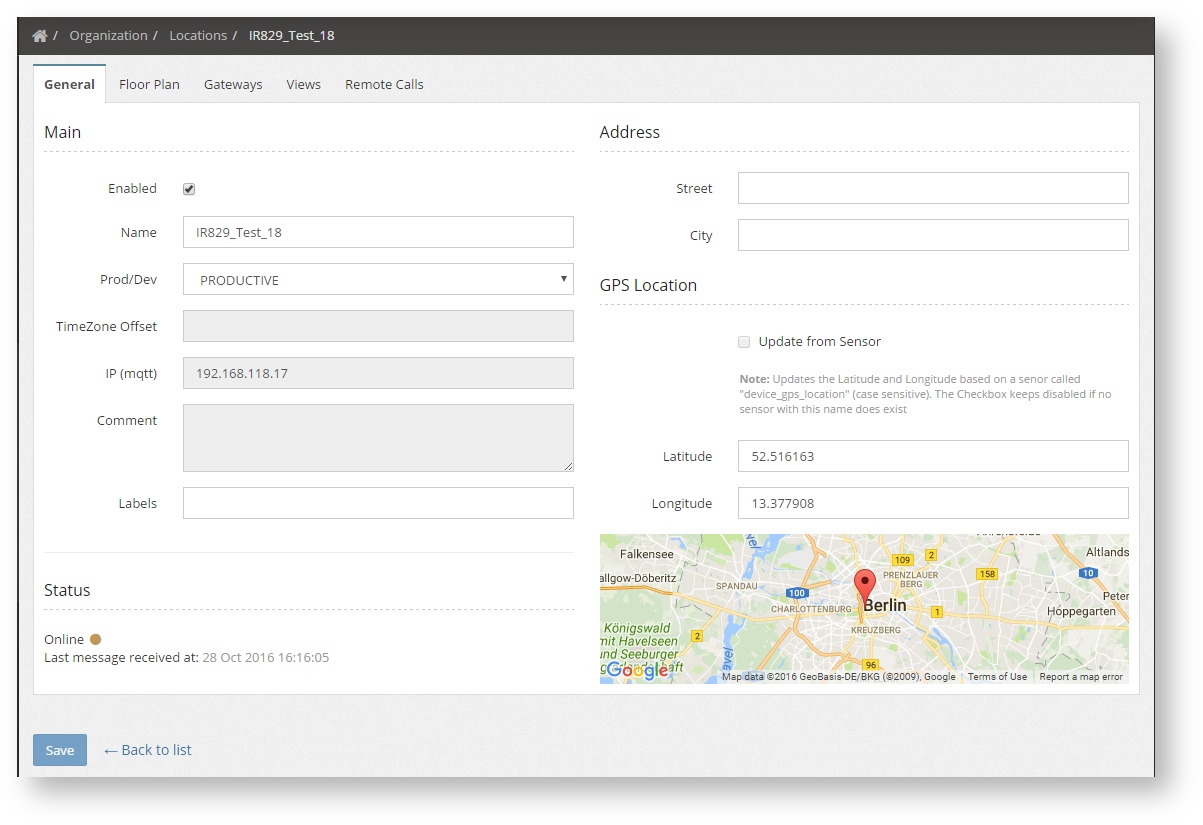
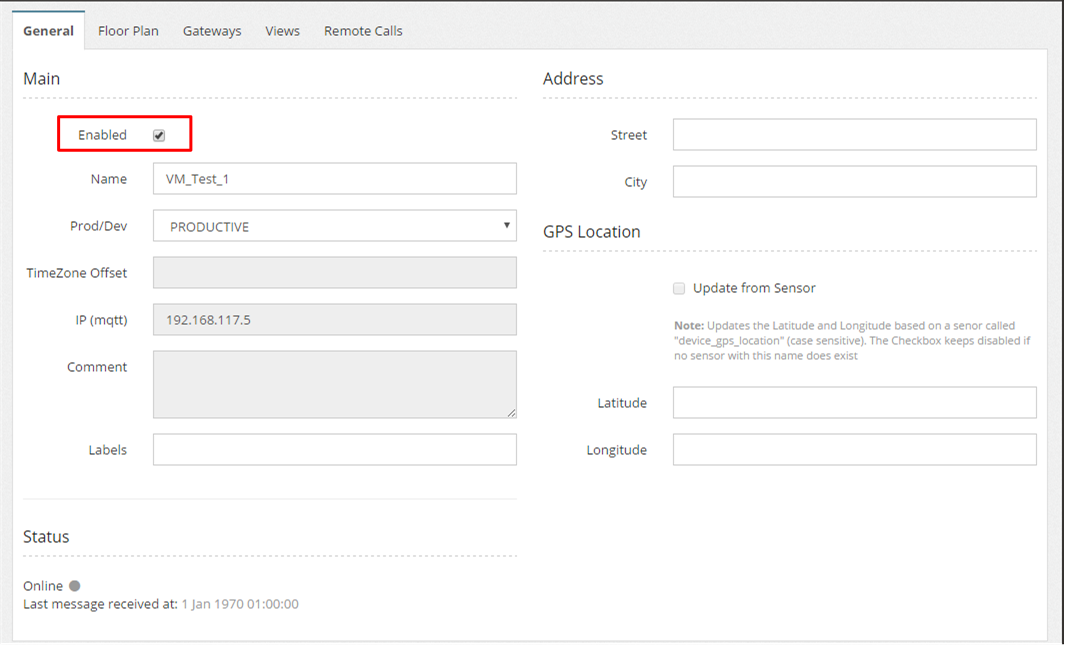
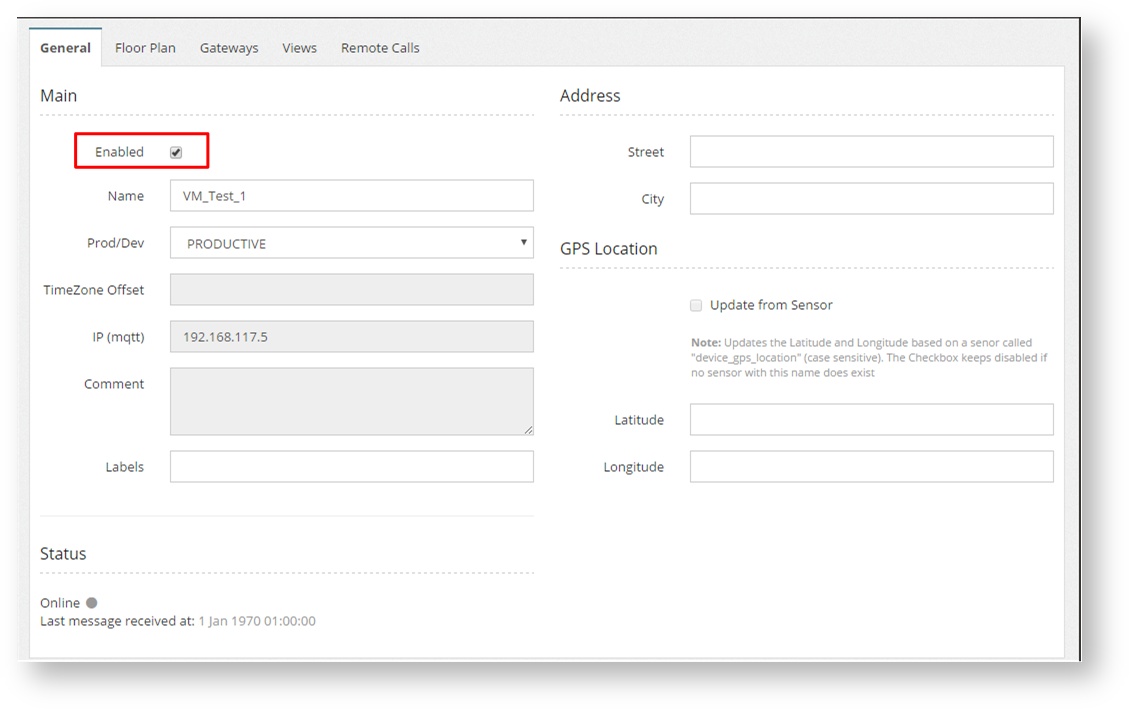
- General: In this tab the following information can be changed:
- Enabled: The enabled status. If disabled the site will be hidden. It is the previous step to deletion.
- Name: The site name that will be shown on the system.
- Prod/Dev: The type of site, which can be PRODUCTIVE or TEST
- The Address, for information purpose only
- The coordinates of the site, that will be used on the dashboard map.
- The last known IP of the site is shown, but cannot be changed.
- Floor Plan: In this tab a floor plan can be selected an uploaded. It has to be an image (jpg/png)
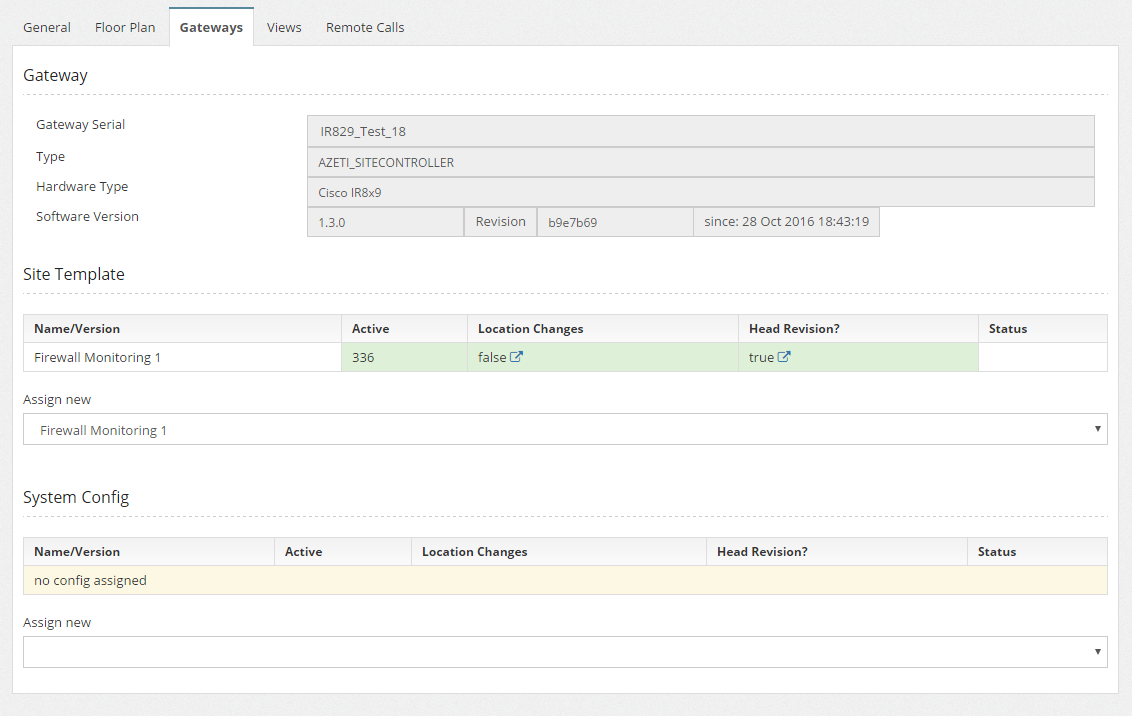
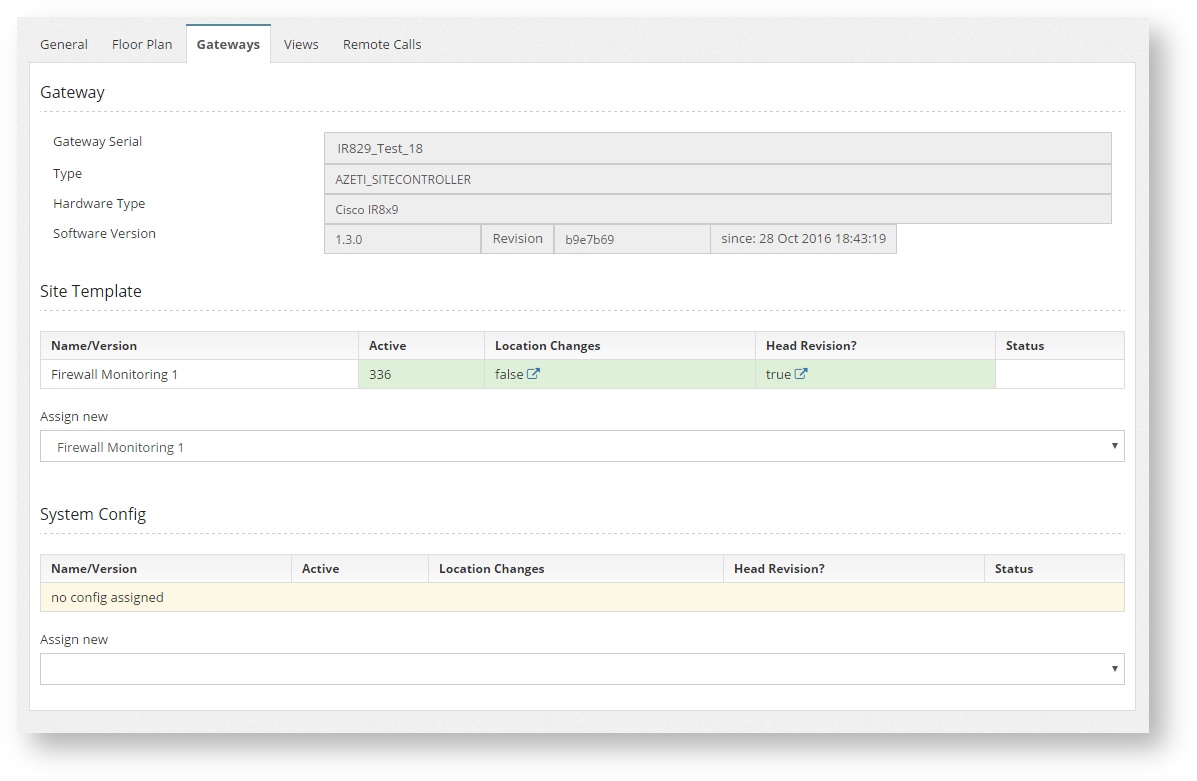
- Gateways: In this tab is where the site template and system config template is assigned to a site. They can be selected from a drop down menu that shows all the available templates for the organization. It also shows the information about the platform used, the serial configured and the software versions.
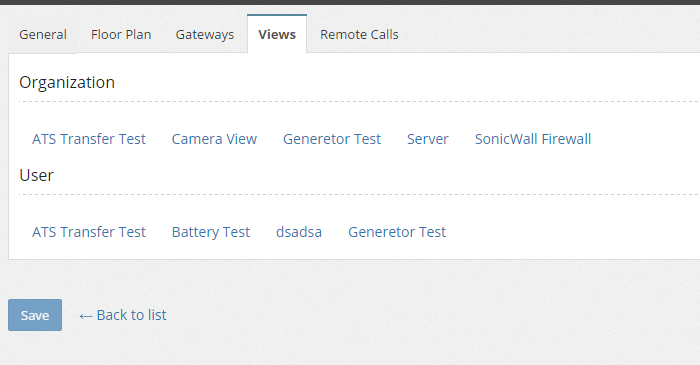
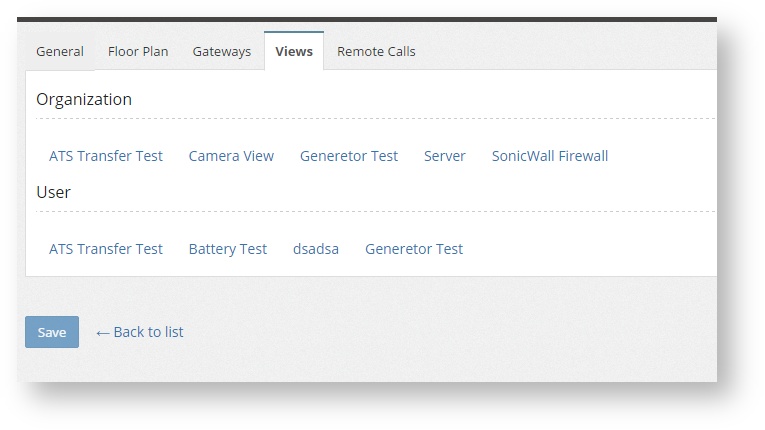
- Views: Shows a list of all the views that can be used for this site, with a direct link to them.
- Remote Calls: If the site has any configured remote call (on the System template) it will be shown here.
...
- Go to Organization → Sites.
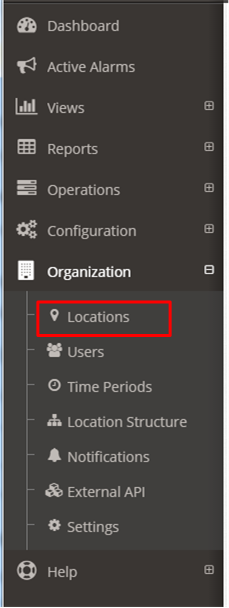
- Click Edit on the Site to be deleted.

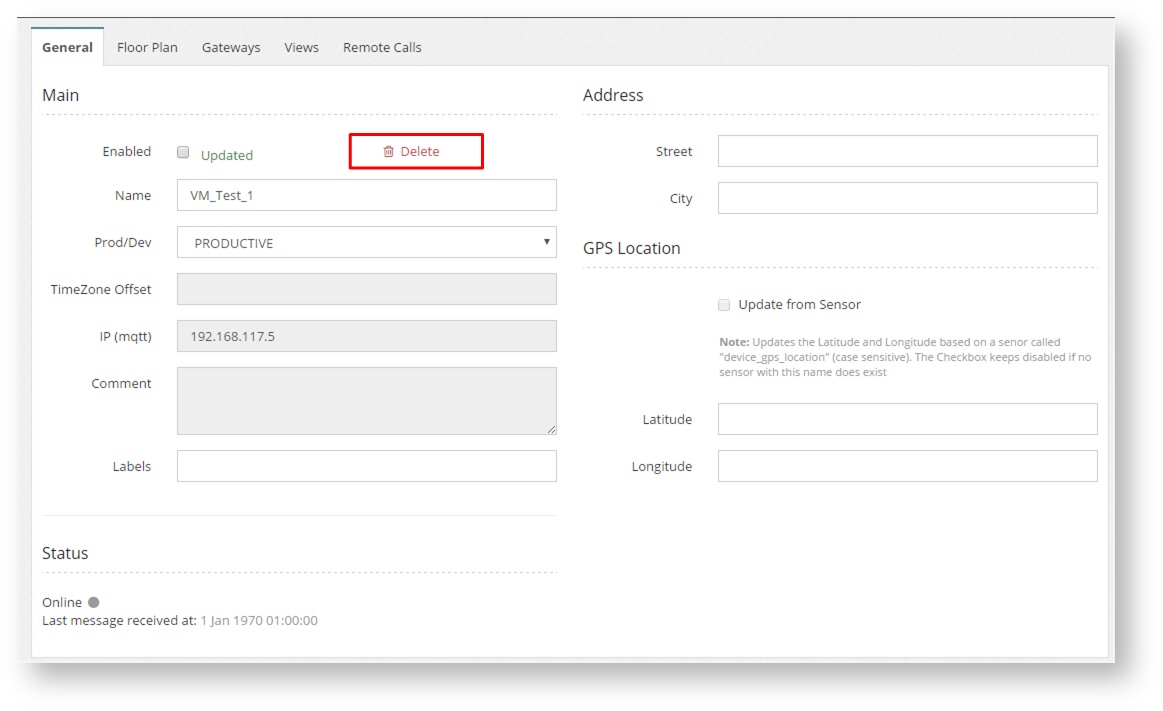
- Uncheck the Enabled check box.
- A Delete button will appear. Click it.
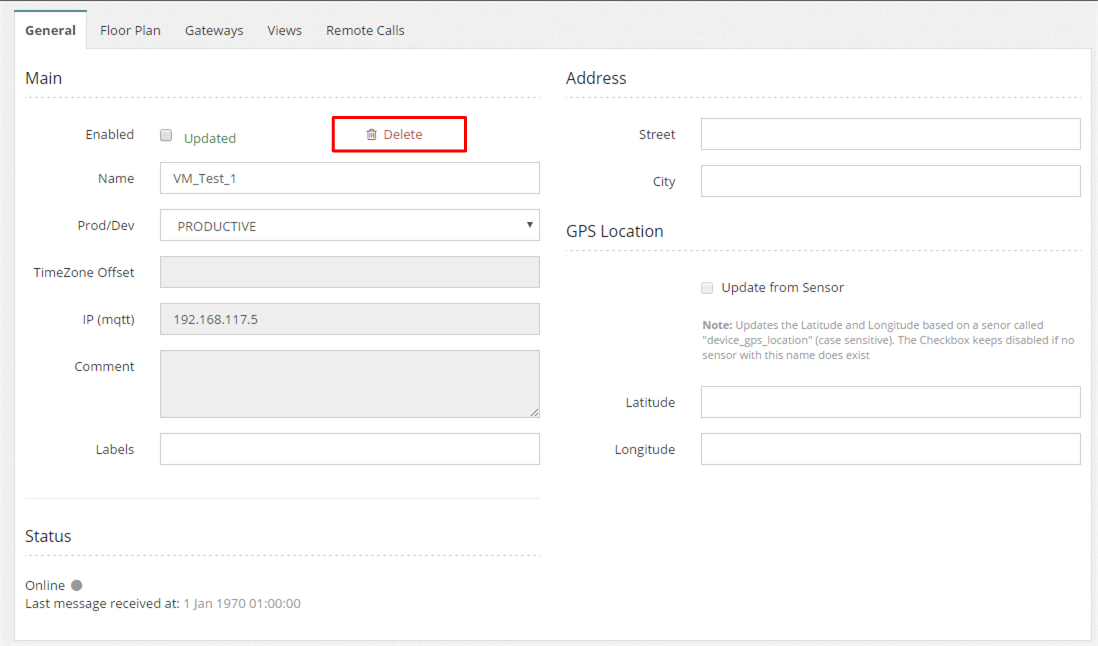
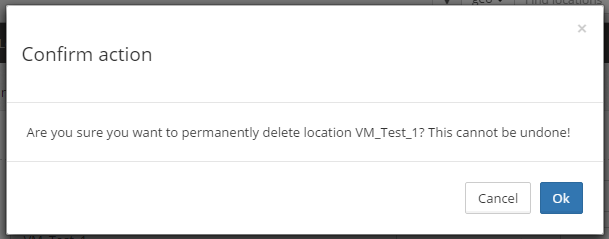
- Confirm that the site can be deleted.
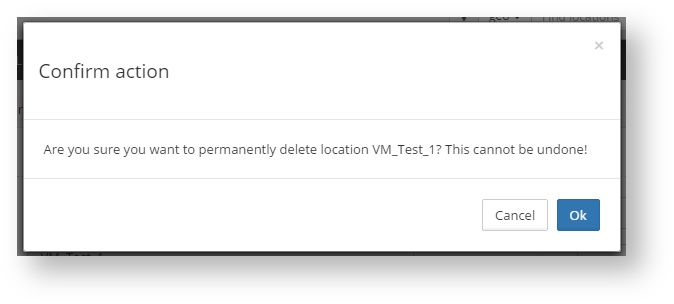
| Info |
|---|
If only the Enabled checkbox is unchecked, the site will still be on the system, but it will not be shown nor it will be processing more incoming data. To show it on the Sites page, just uncheck the Enabled button on the list.
|


User Management
The User Management page allows the Administrator to create, delete and edit all users of the system. It can be reached in Organization → Users.
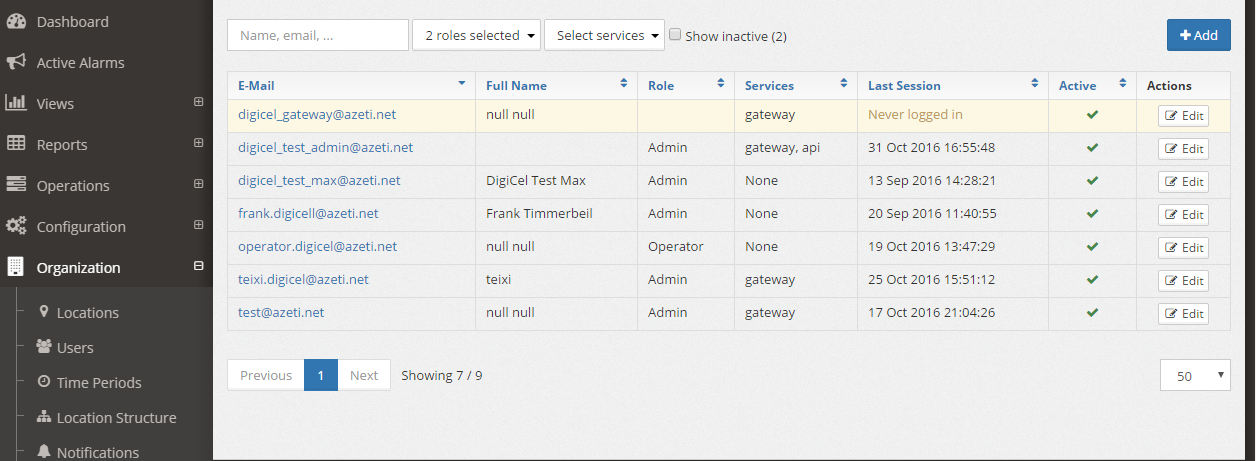
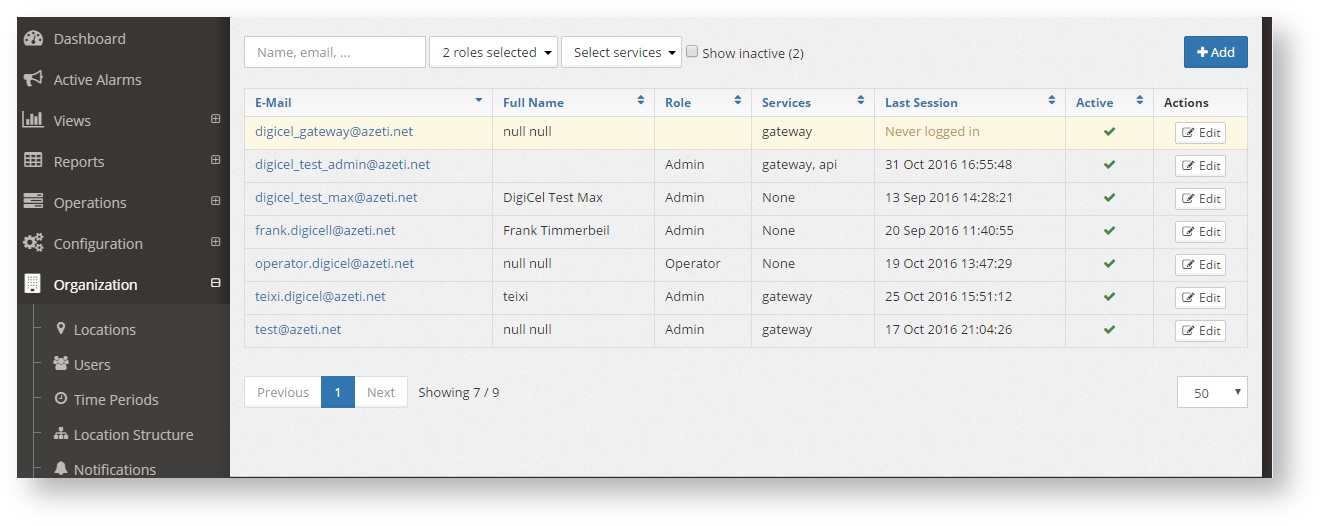
The page shows all the user, along with their basic information. The E Mail is what is used as username.
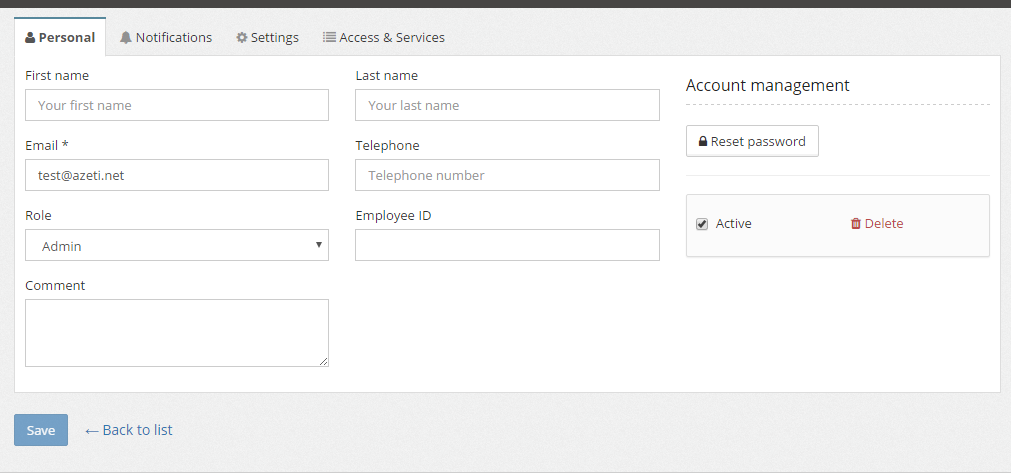
...
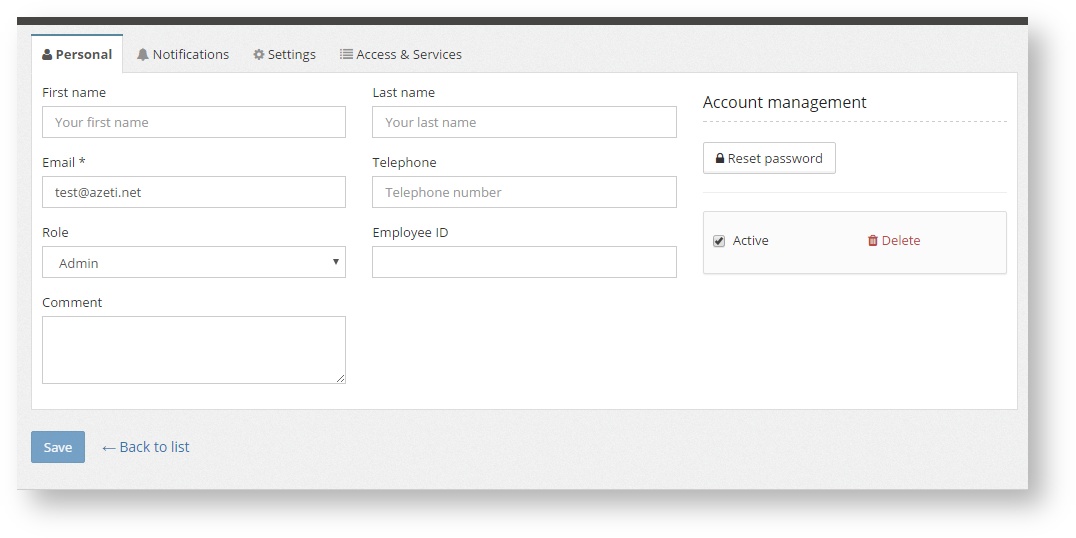
- Personal, where the user personal data,such as phone, name, id, etc. is set. For a new user a password has to be set. For existing users the password can be changed using the "Reset Password" option. Here the users can be deleted with the Delete button. They can also be deactivated, which means that the user will still be in the system but without being able to access the system.
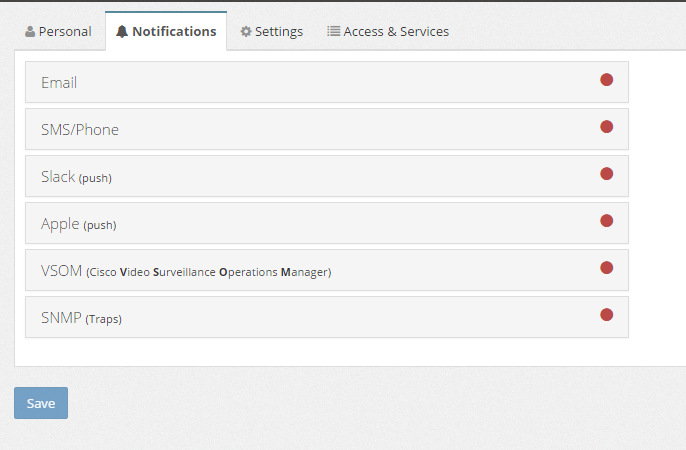
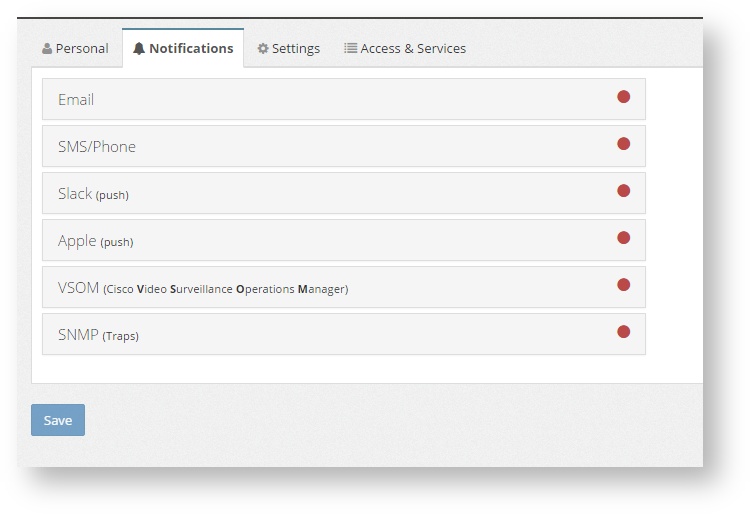
- Notifications, where the user specific notifications settings are configured (see Notifications)
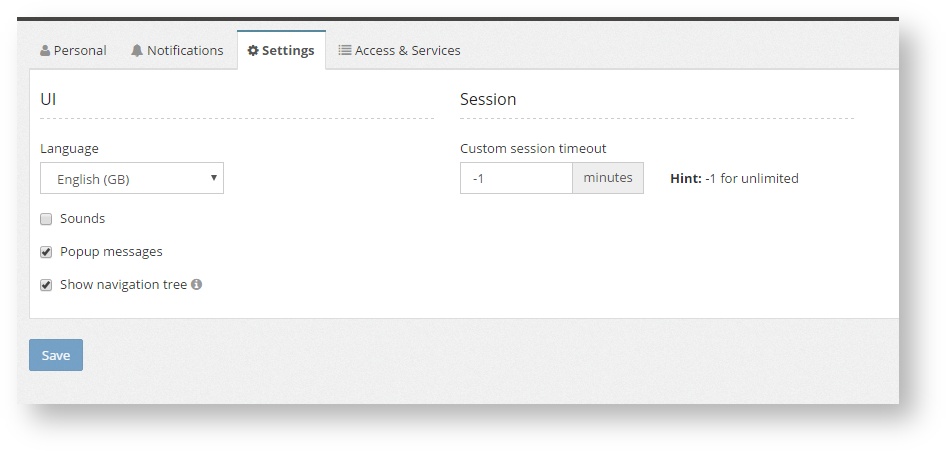
Settings, where the user can language can be selected, enable/disable the sounds and popup notifications, and the timeout. To disable the timeout set it to -1.
Warning Setting the timeout -1 means that the session will never be closed by the system. If a user closes it's browser and opens it again, the session will still be open and the system accessible with the last user privileges. This can be a security risk under certain scenarios.

- Access & Services, to set certain additional privileges to the users, such as Gateway (the username can be used in the gateways for connection) or API (the username can be used by third party software to access the external API)
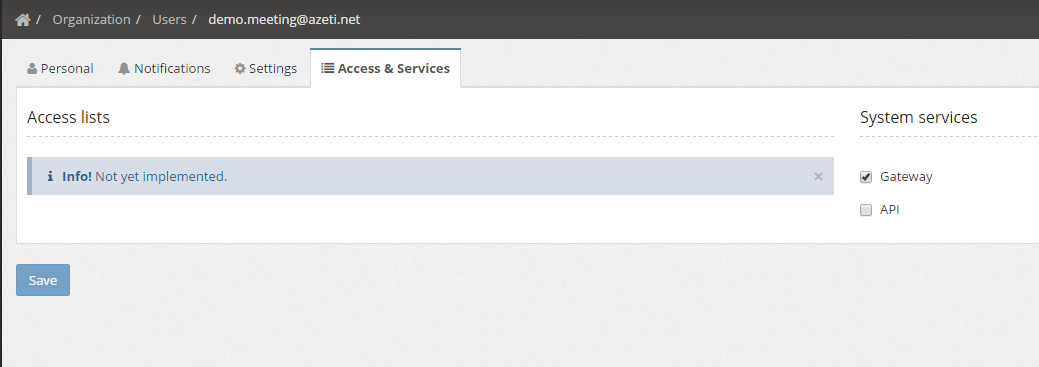
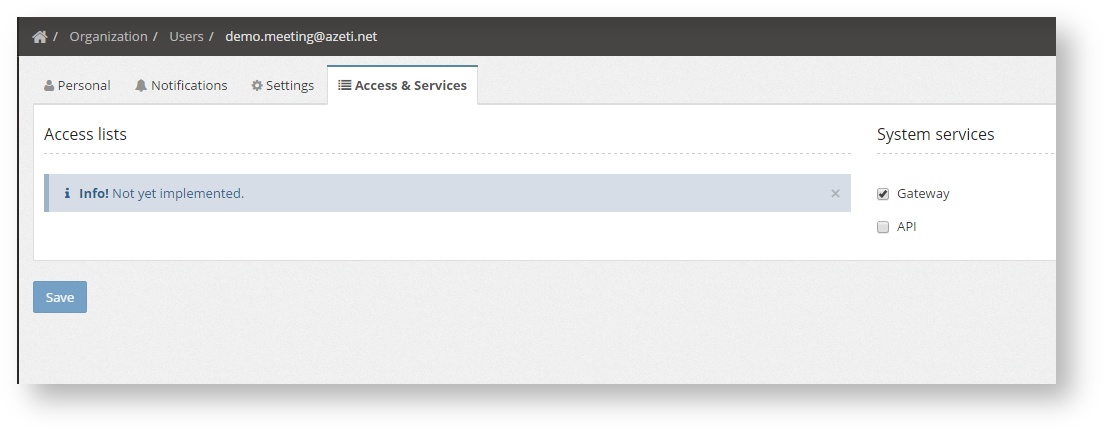
| Info |
|---|
After making any changes the Save button has to be pressed to make them permanent. |
...
Time periods define a weekly schedule during which certain action is valid. They are used for sending notifications or to enable access codes. Those are only valid during the defined timeperiods. To manage them go to Organization → Time Periods. This page shows all the existing one, allowing the Administrator to create more or edit them.
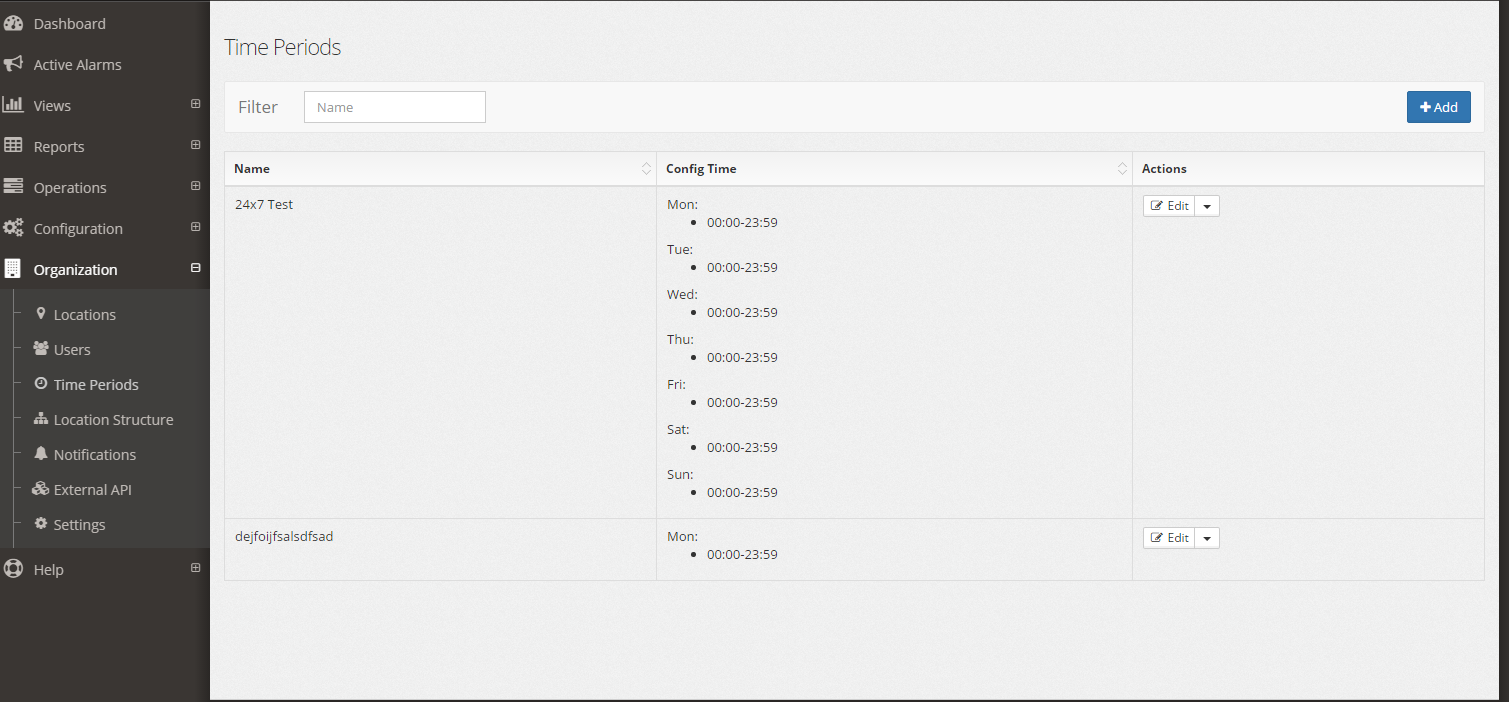
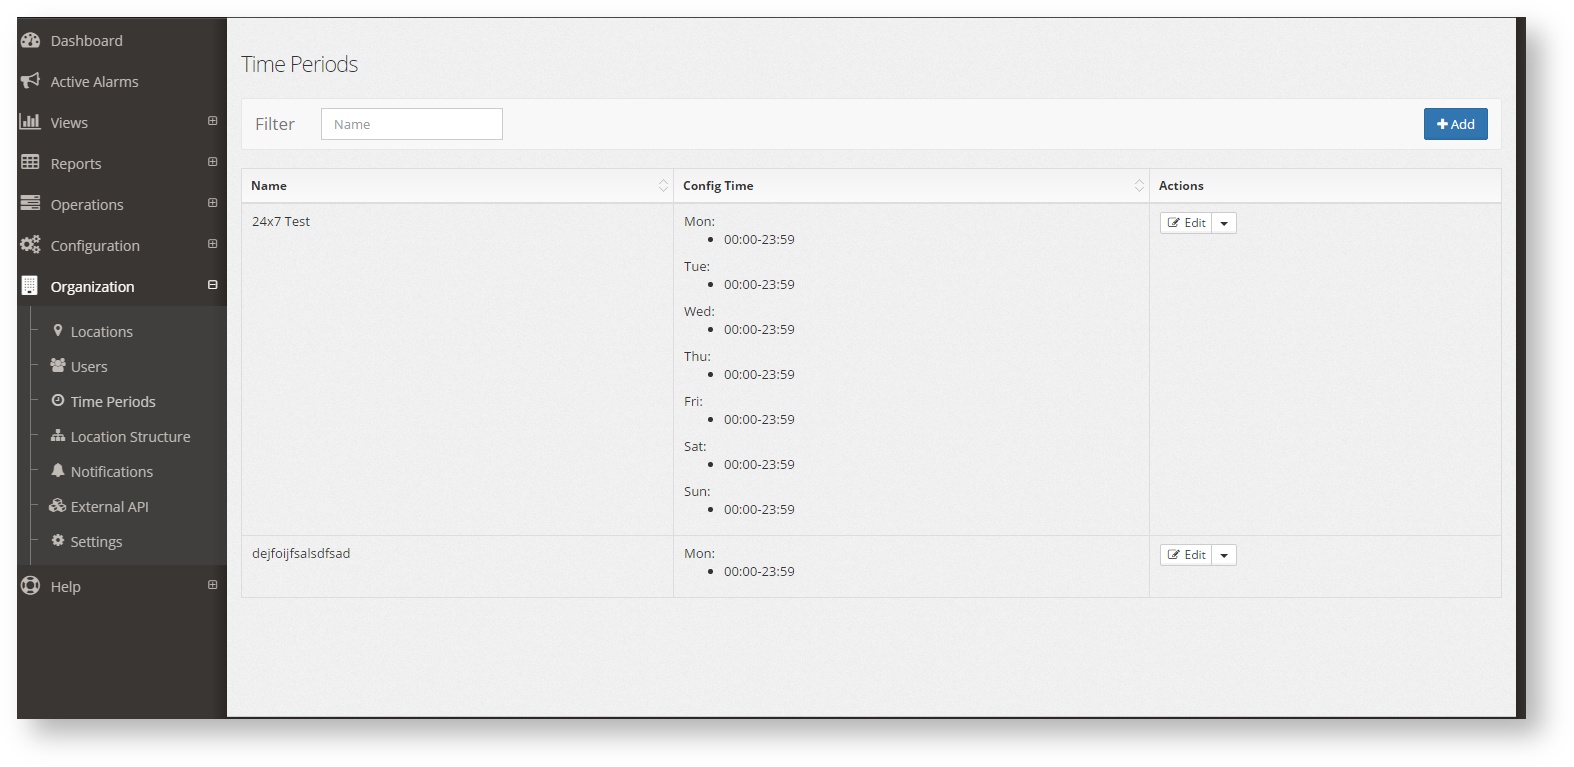
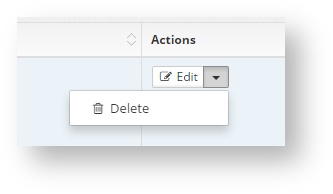
To add a new one click +Add. To Edit click Edit and to delete first click the drop down right of edit the then Delete
. 
Once editing the time period, enter the name and select all the intervals needed.
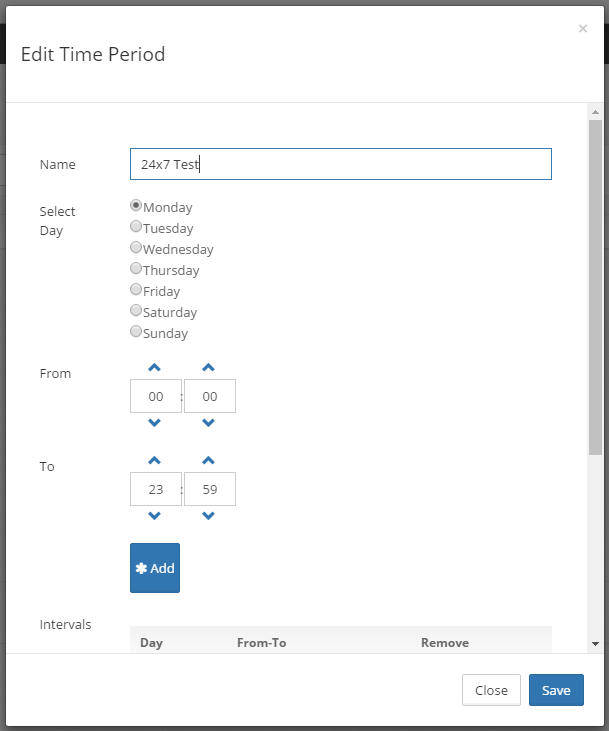
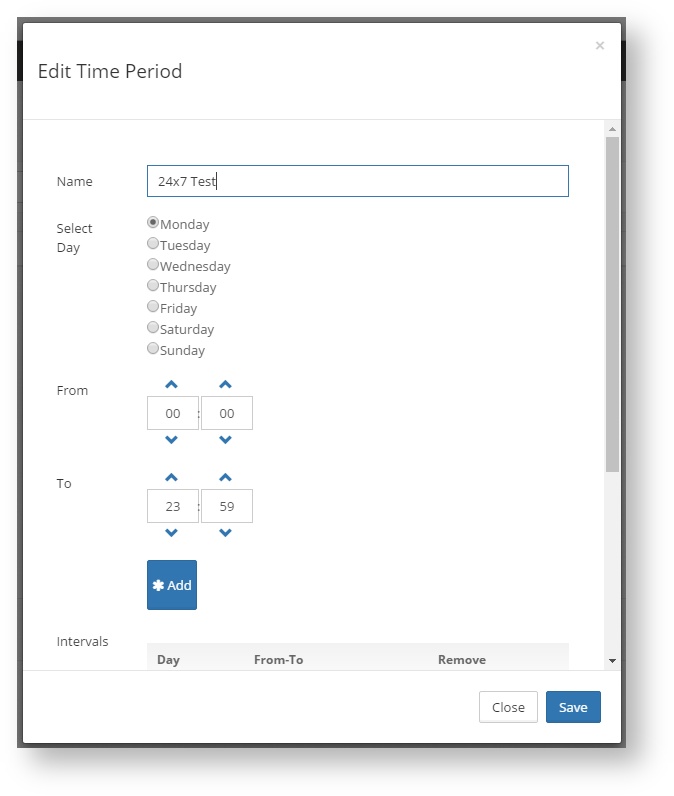
And interval can last up to a day, but there can be as many intervals in a day as needed. Just select the day of the week, enter the time, and click Add. The interval will be added to the list at the bottom of the window. To delete an interval just click on the cross to the right of it.
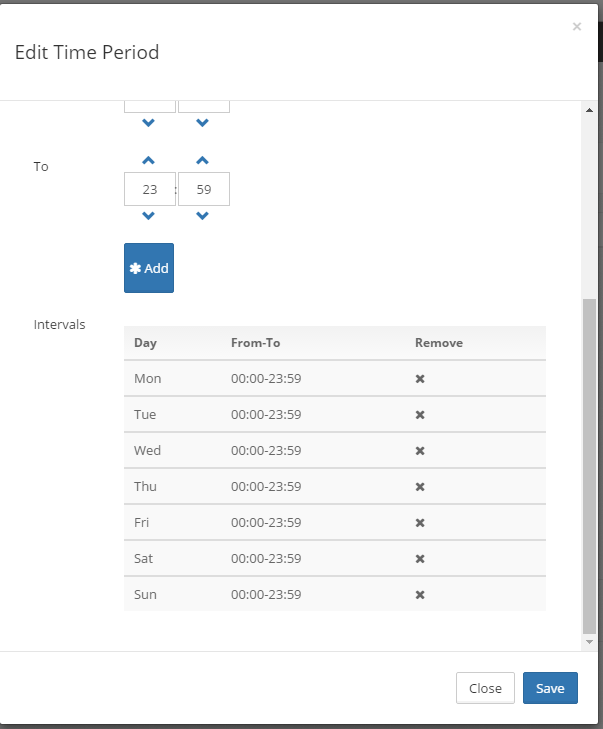
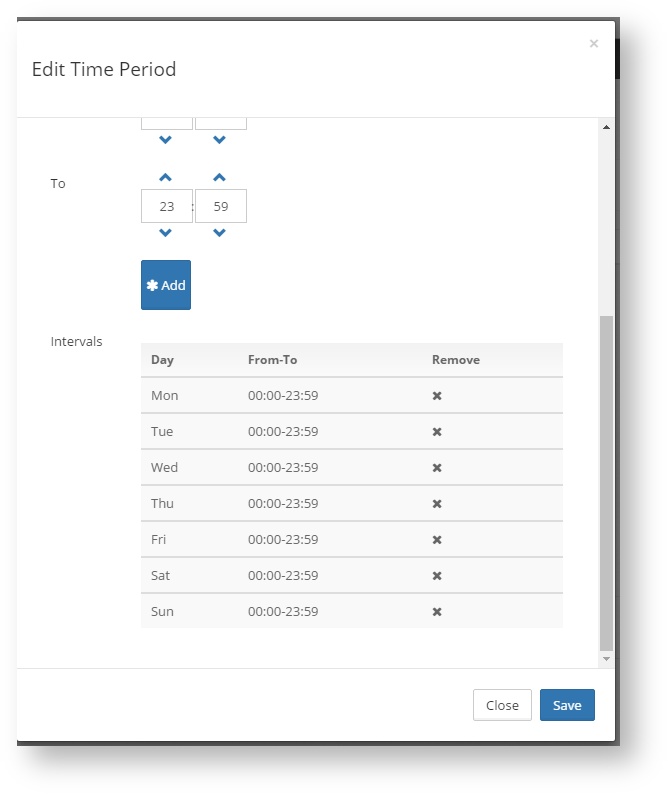
Once all the changes are made click Save to make them permanent.
...
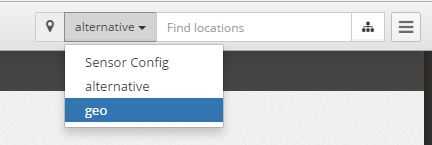
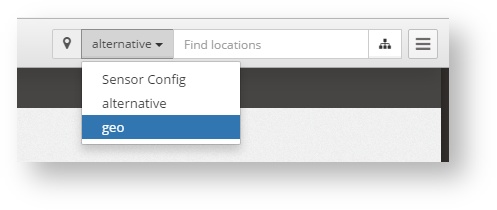
The Sites tree structure shows all the Sites in a predefined structure. This has to be defined by the administrator. The can be as many Site trees as wanted. The user can choose which to use by selecting it:
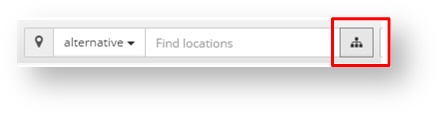
To open the tree click the tree button left of the search box;

To create, delete and manage the Site Structure, go to Organization → Site Structure
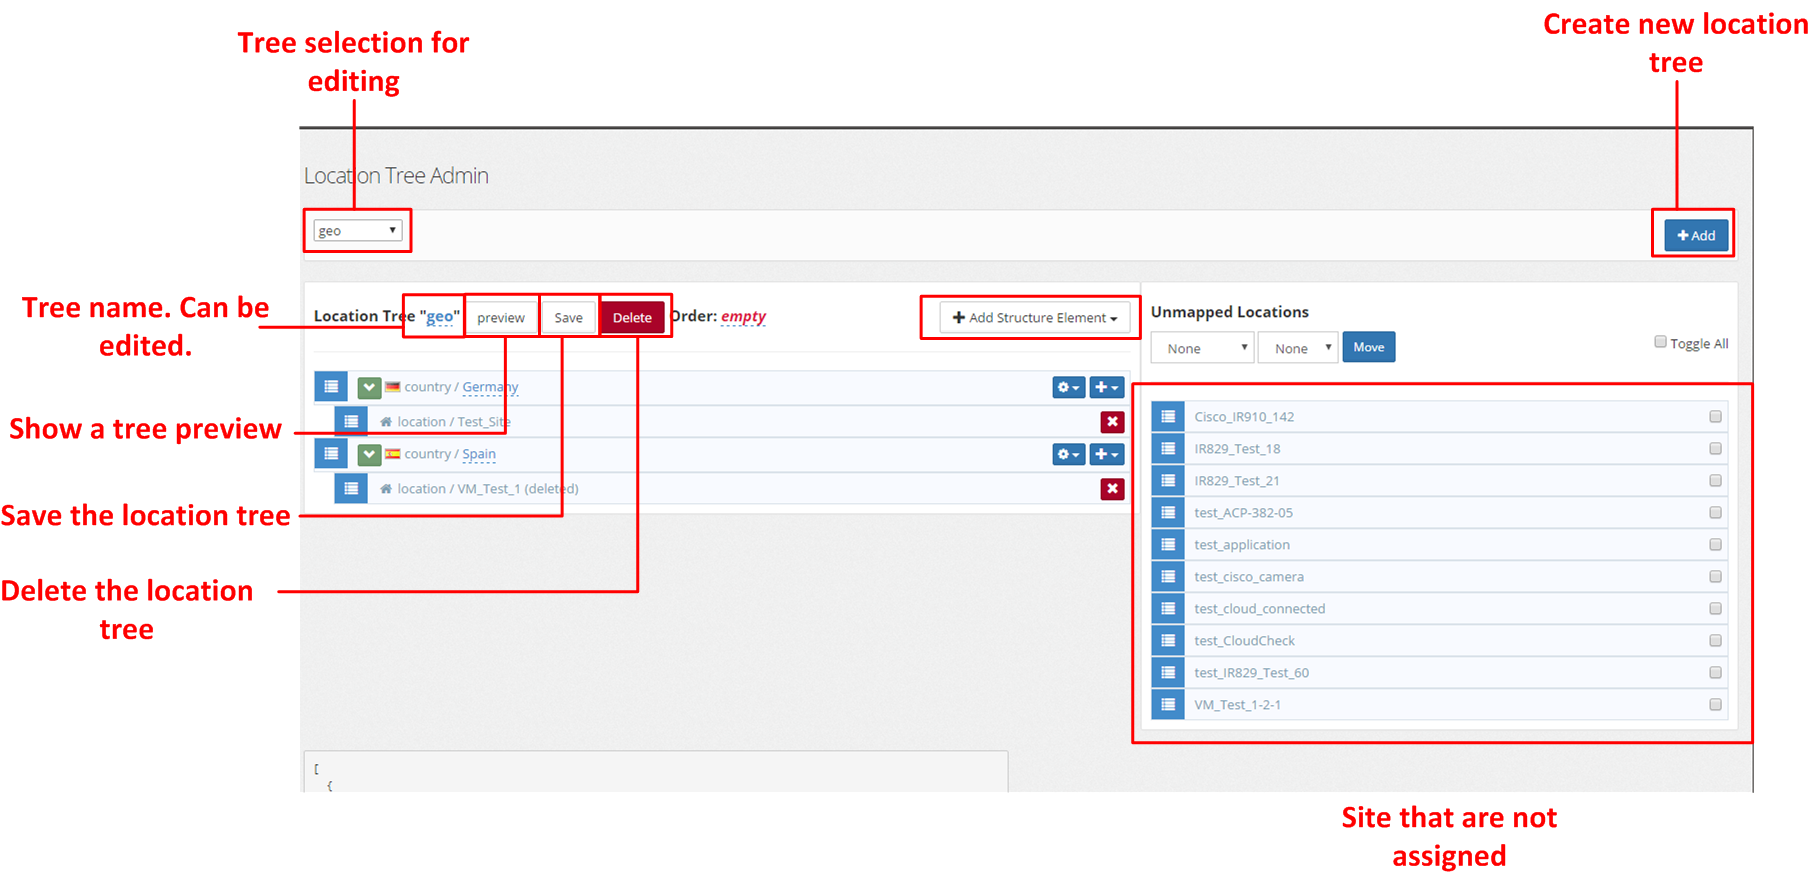
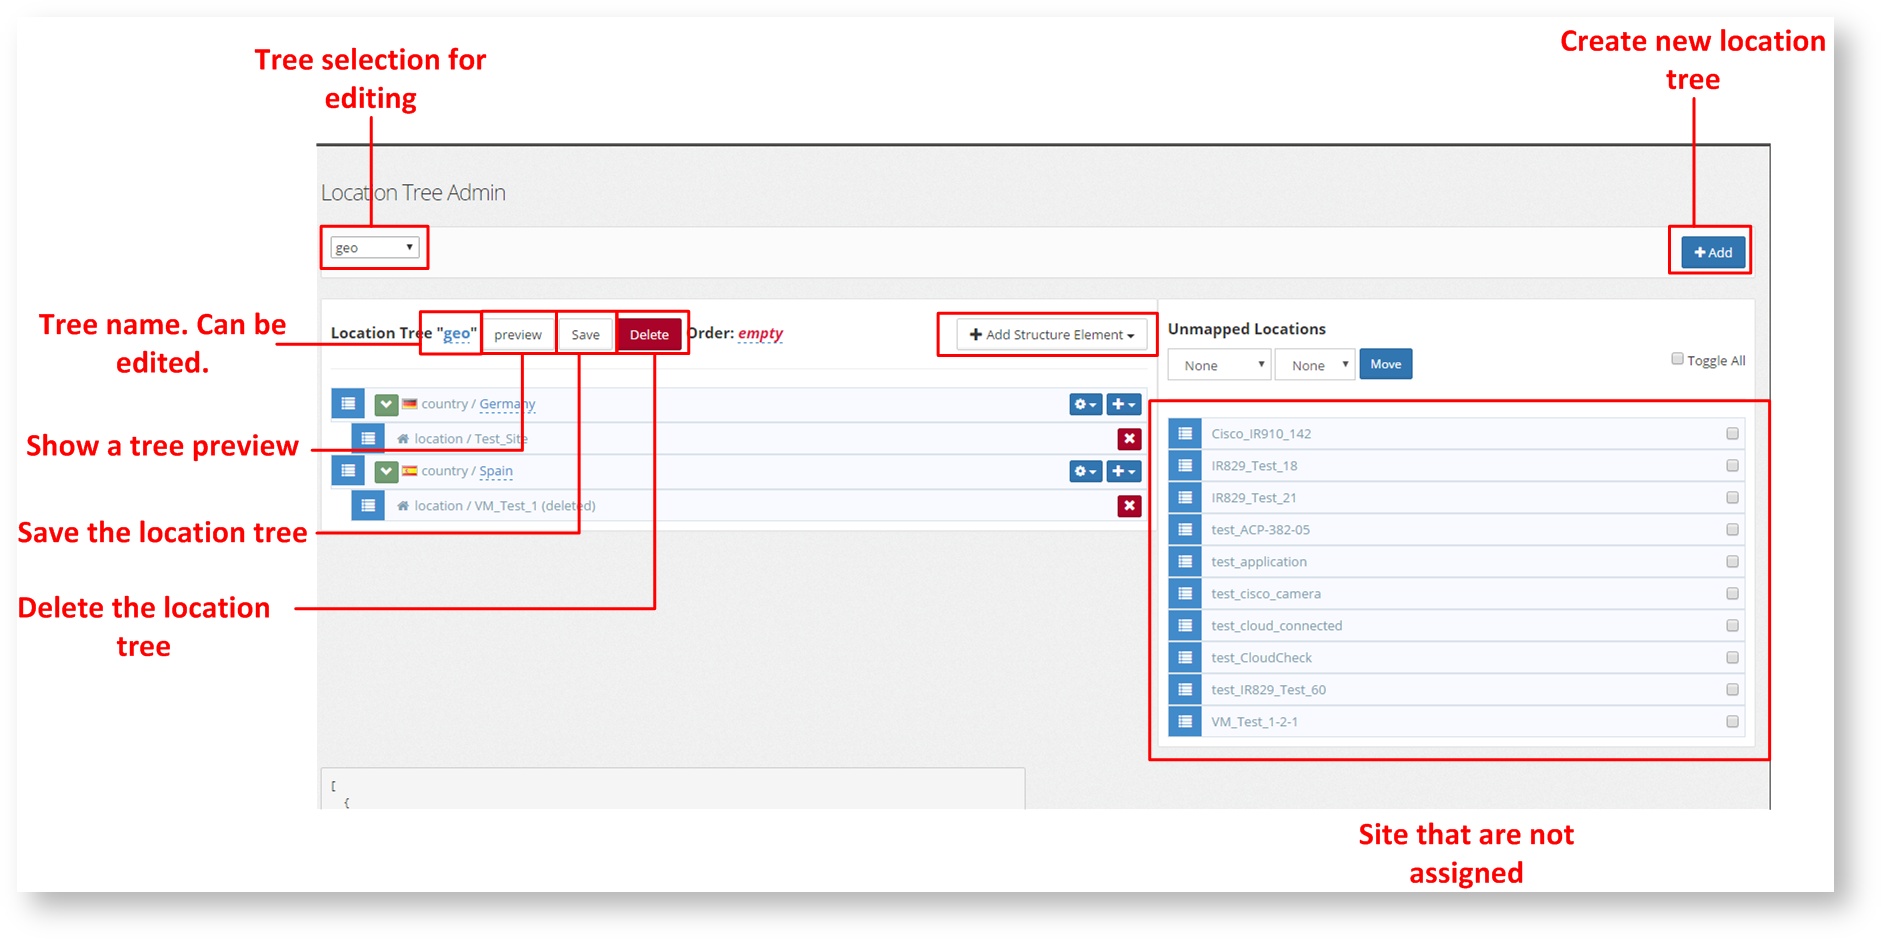
Creating a New Site Tree
...
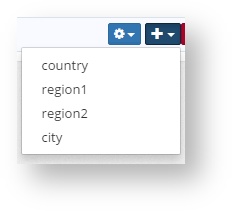
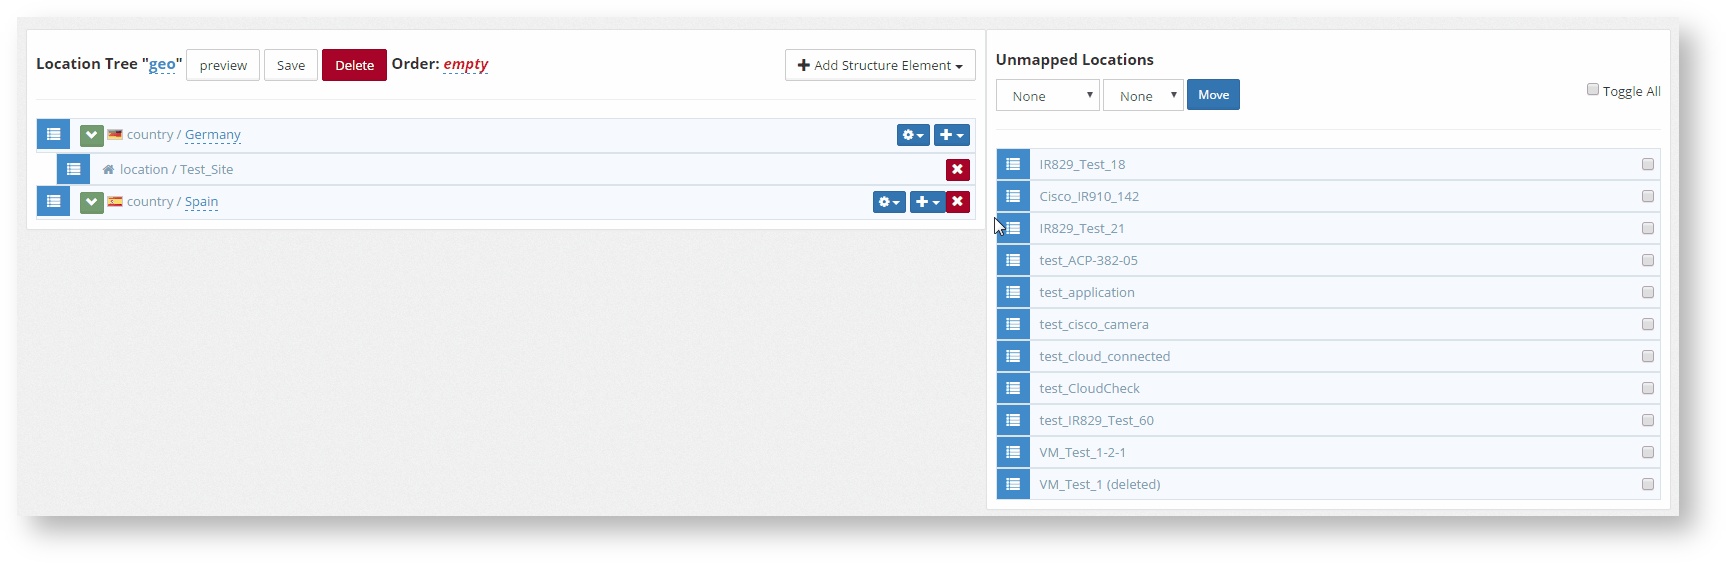
To add the upper levels, click +Add Structure Element. It will show all the options:
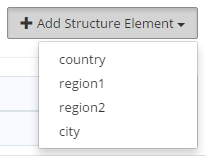

A new level can also be created using the + button on an existing element. The new one will be placed under it if it is of a lower level. The new element can be then edited. The name will be empty, but can be changed just by clicking on it.
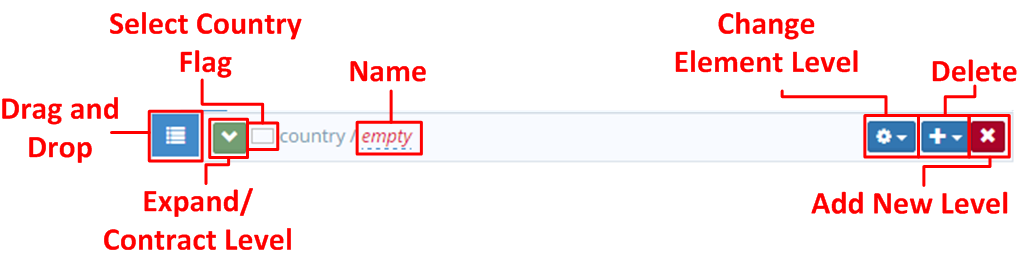
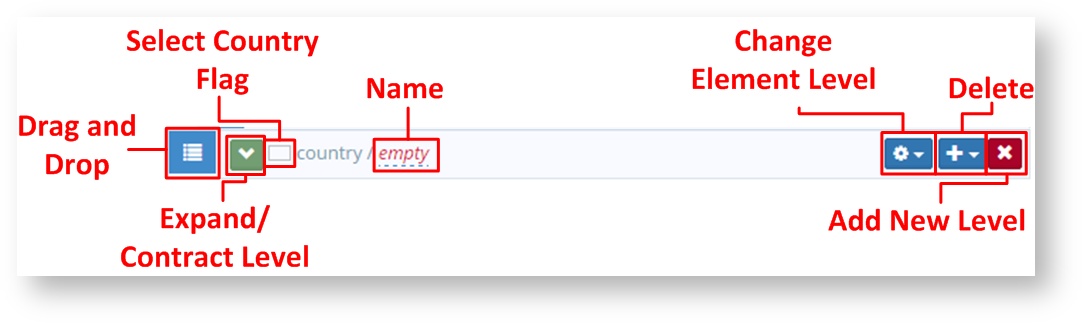
For each element the following can be done:
- Move the item around using Drag And Drop, dragging from the left end of the item

- Expand or Contract the lower levels

- Select the country flag (only for countries). Use the two letter country code (ISO 3166-1 alpha-2). After putting the two letter code and saving the proper flag will be shown.

- Change the item name. Can be edited by clicking on it.
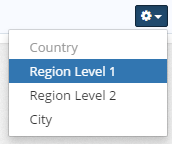
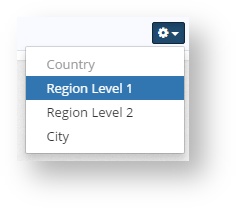
- Change the element level.
- Add a new element.

- Delete the current element

...
Once the upper levels are in place, the Sites can be placed in under the right element. To do that just drag and drop the Site to the correct place. Drag by the  symbol at the left end of the Site.
| Warning |
|---|
Remember to click the Save button before leaving the page to make all changes permanent. |
...
In this page is the external API to connect to third party software is enabled. Just select the parts of the API that need to be enabled. They will be activated immediately and the options saved.
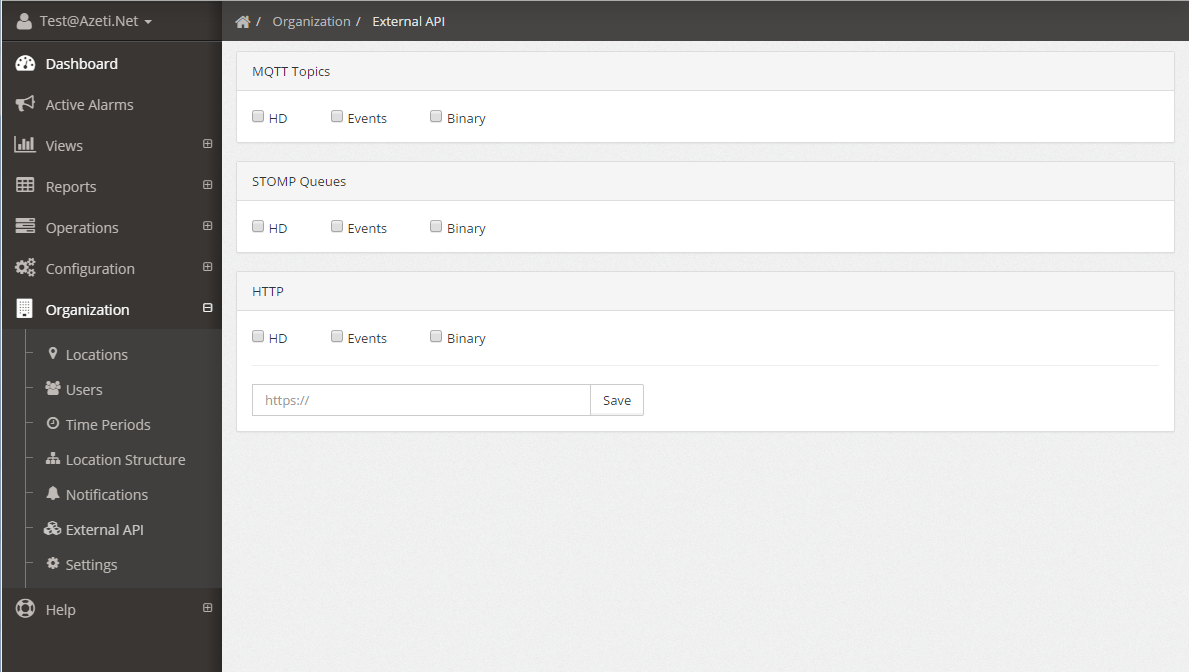
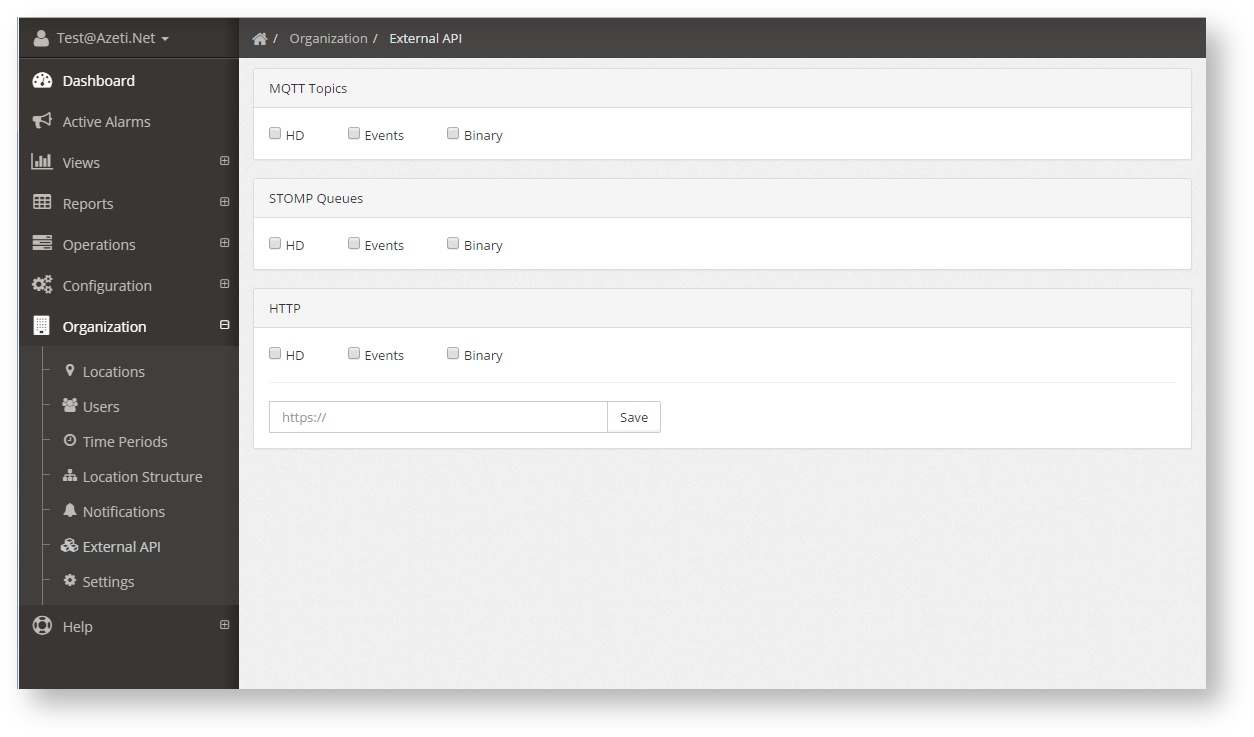
For more details on the External API go to External API
...
Organization → Settings shows the general settings of the organization.
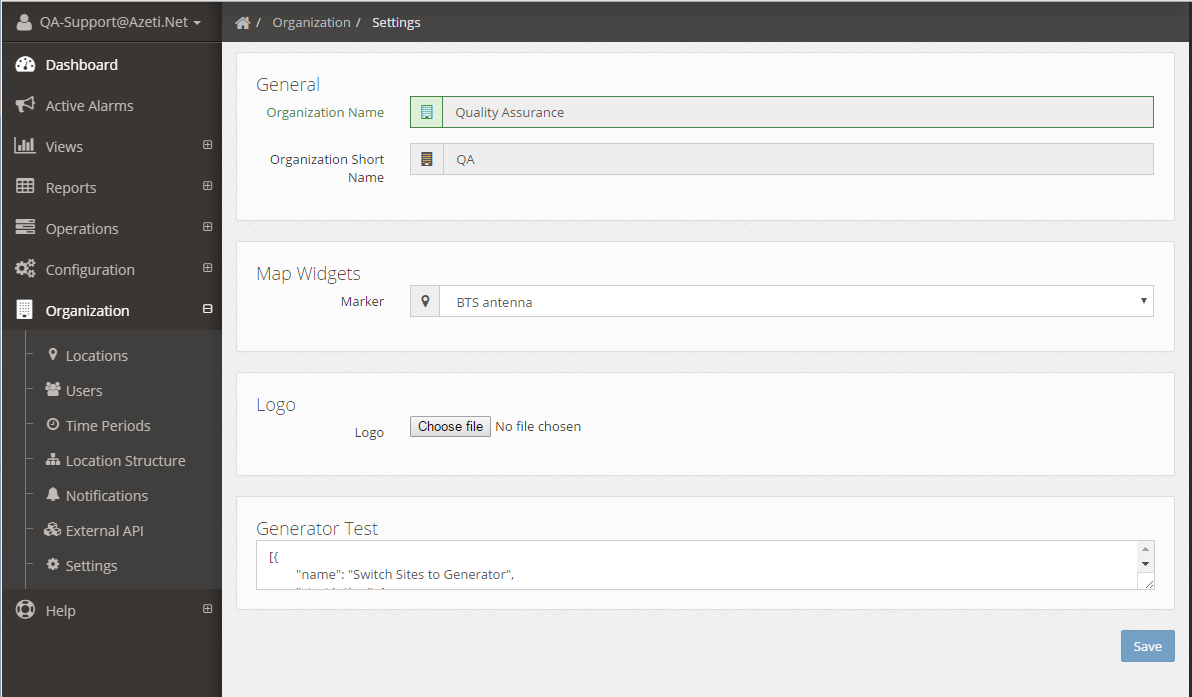
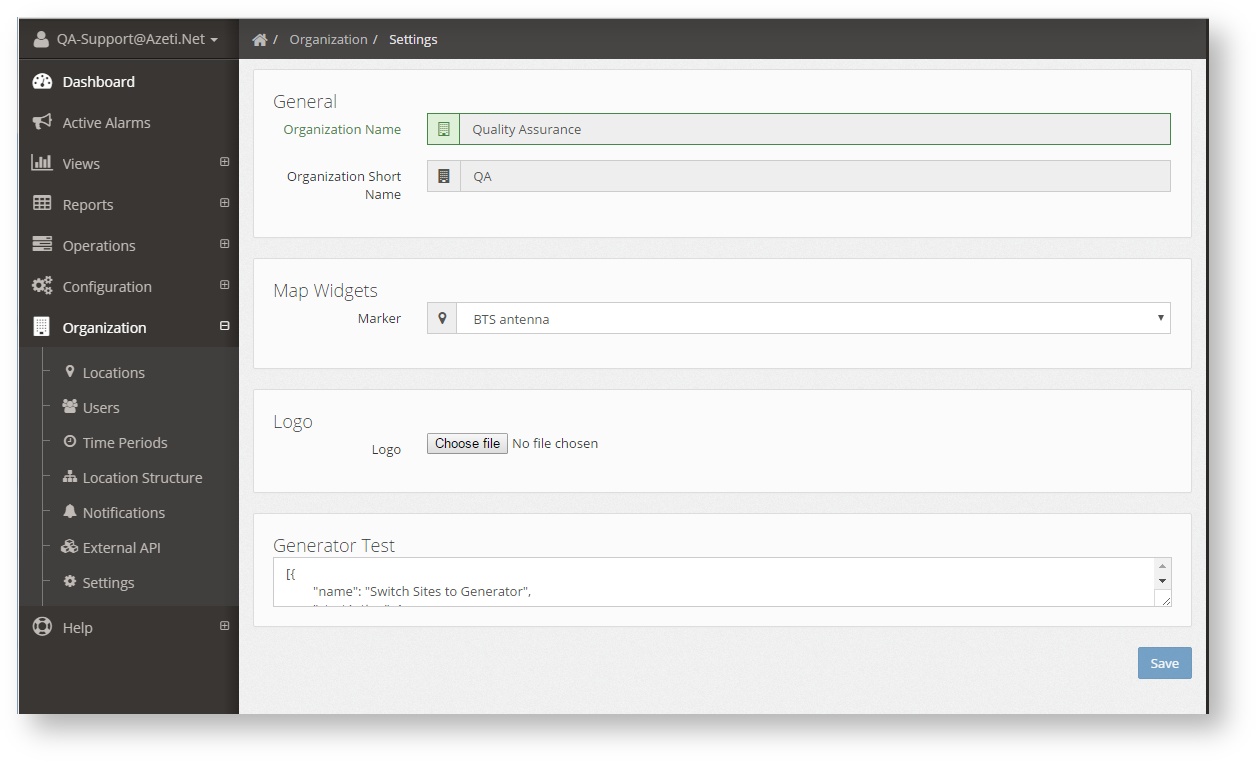
It includes:
- Organization name and short name. They cannot be changed. The Oganization Short Name has to be used on the SiteController for correct configuration.
- Map Widgets: This option lets the Administrator select the type of marker of the dashboard map. There are two types:
- Map Marker →

- BTS Antenna →

- Map Marker →
- Logo: A image can be uploaded and will be shown as a logo on the top left corner of the screen.
- Generator Test: Here a json can be pasted to create new items on the Operations menu. See next section on how to configure them.
...